Moab Rock Climbing
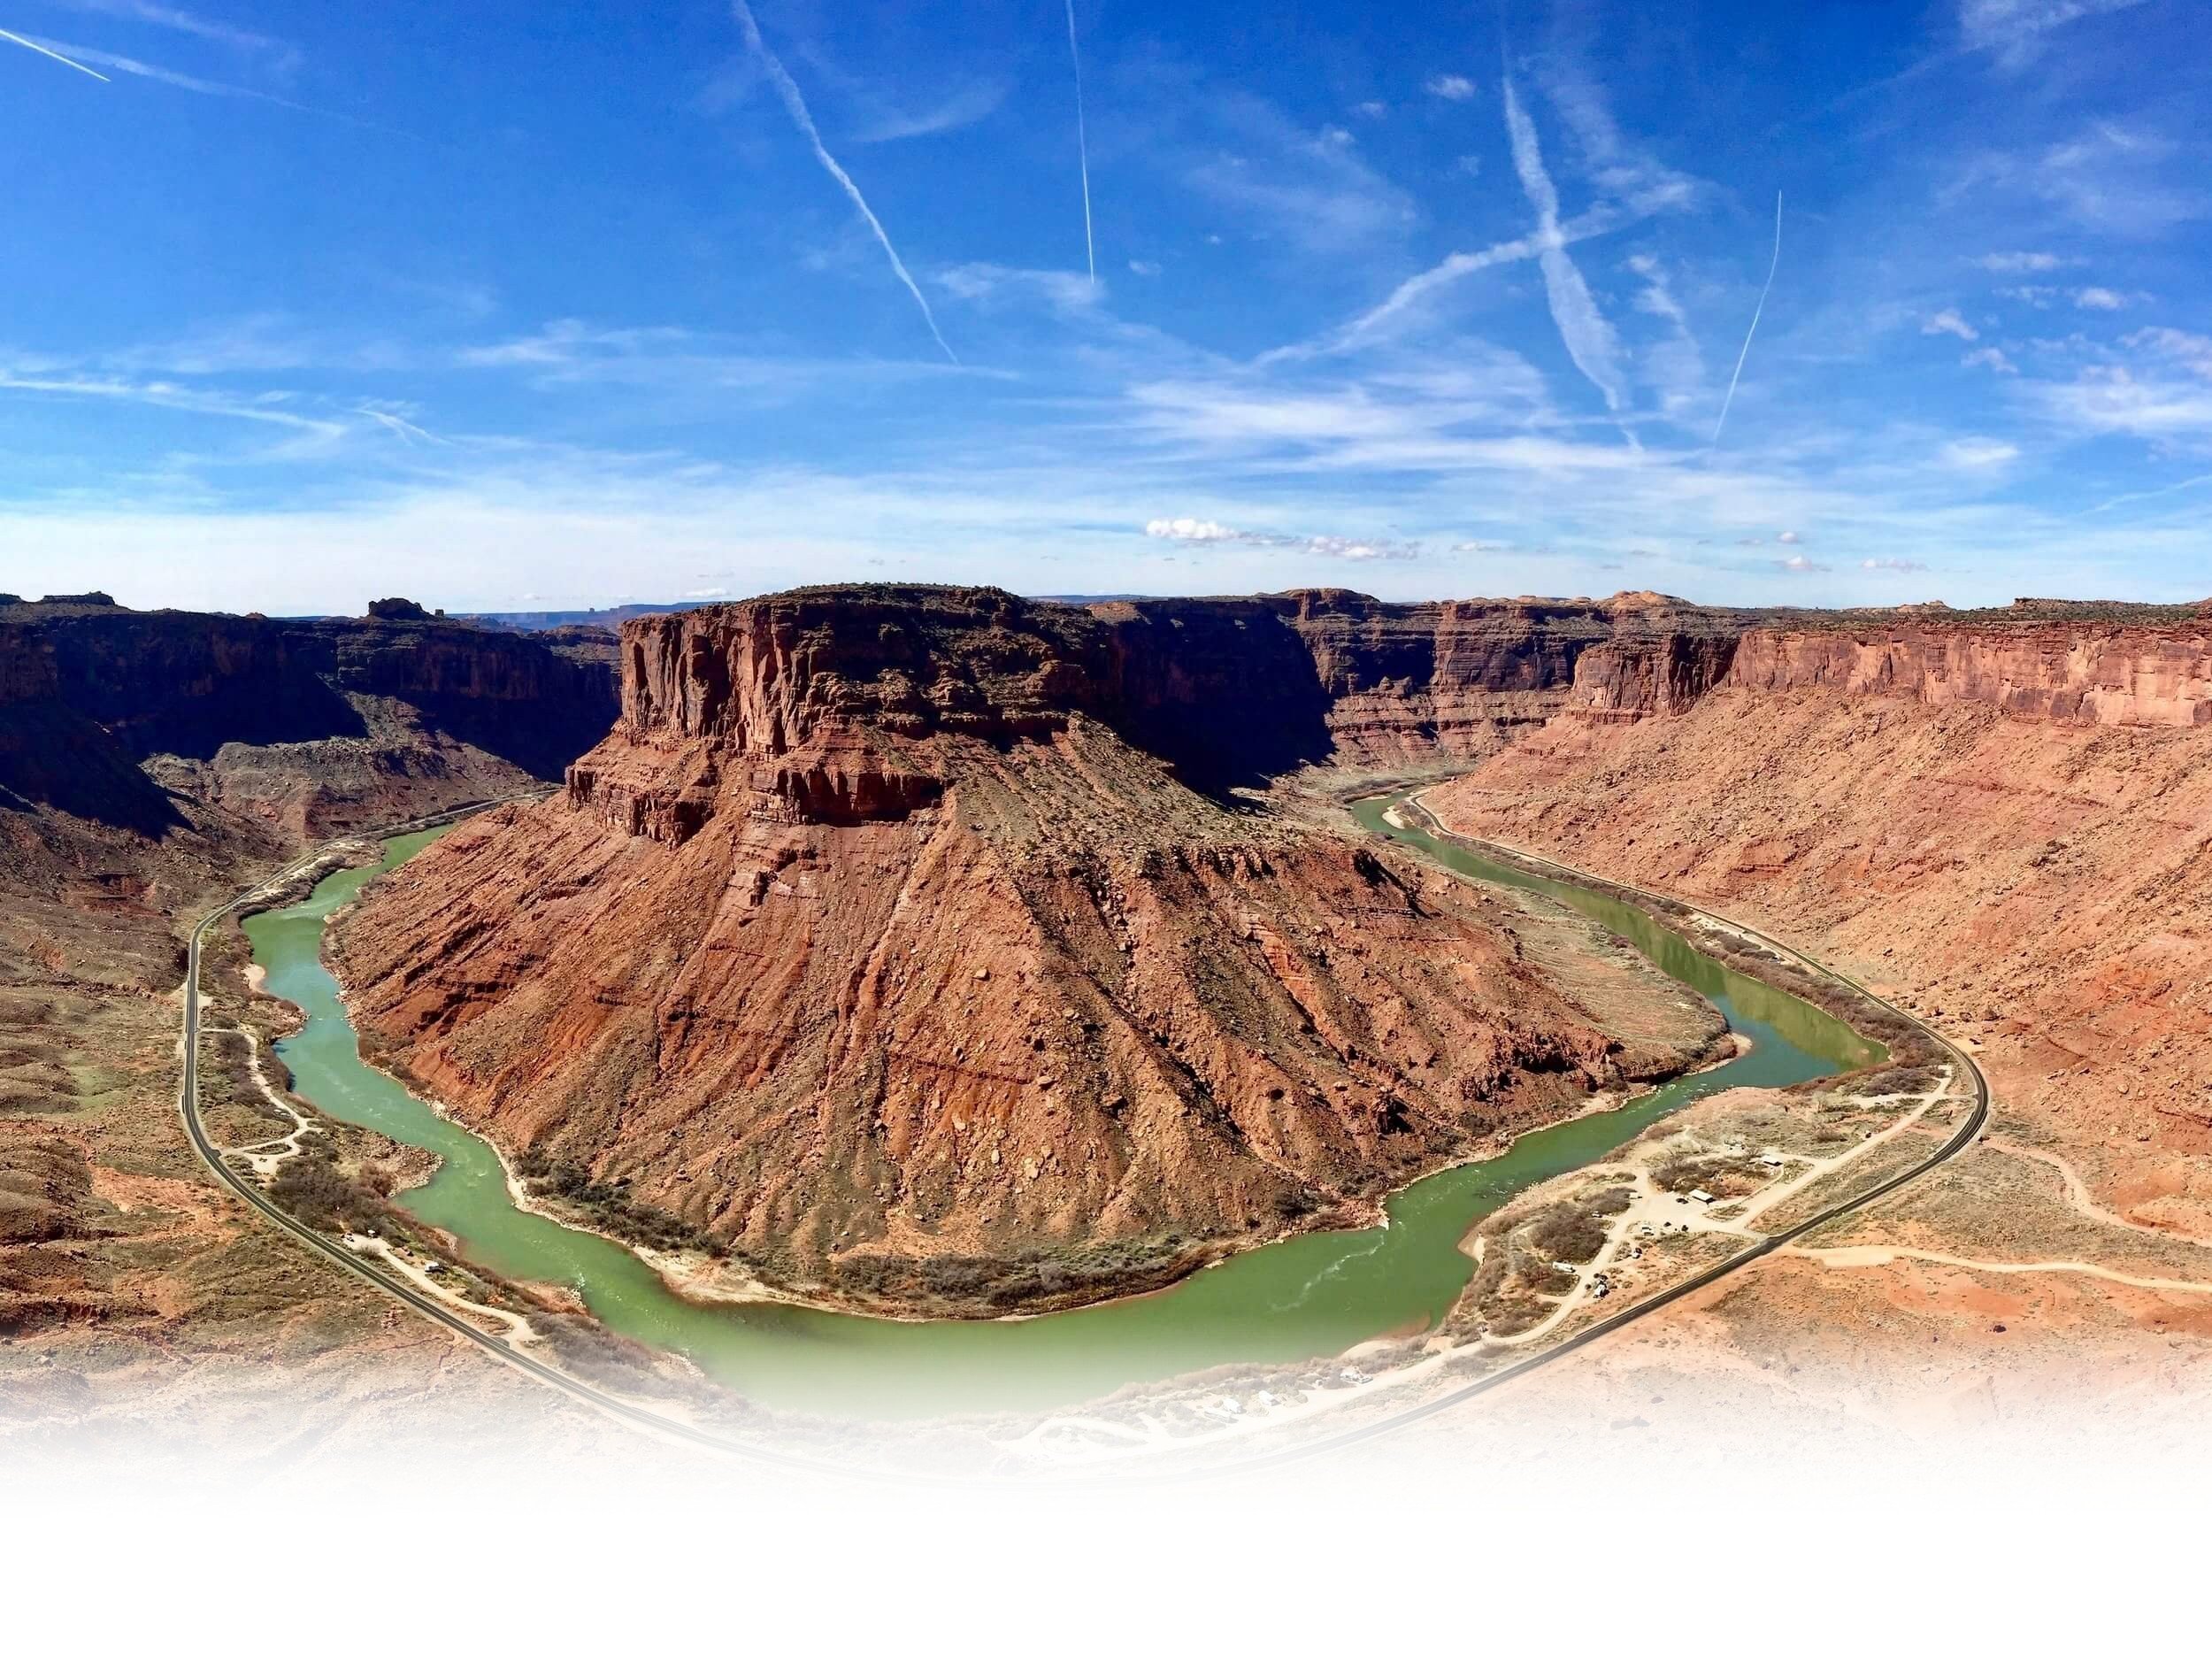
A desert oasis set amongst towering red cliffs, the town of Moab, Utah serves as a basecamp for adventure: world class rock climbing, hiking, mountain biking and rafting. Skyward Mountaineering has been recreating and guiding rock climbing in Moab for decades, exploring the desert and finding hidden gems.
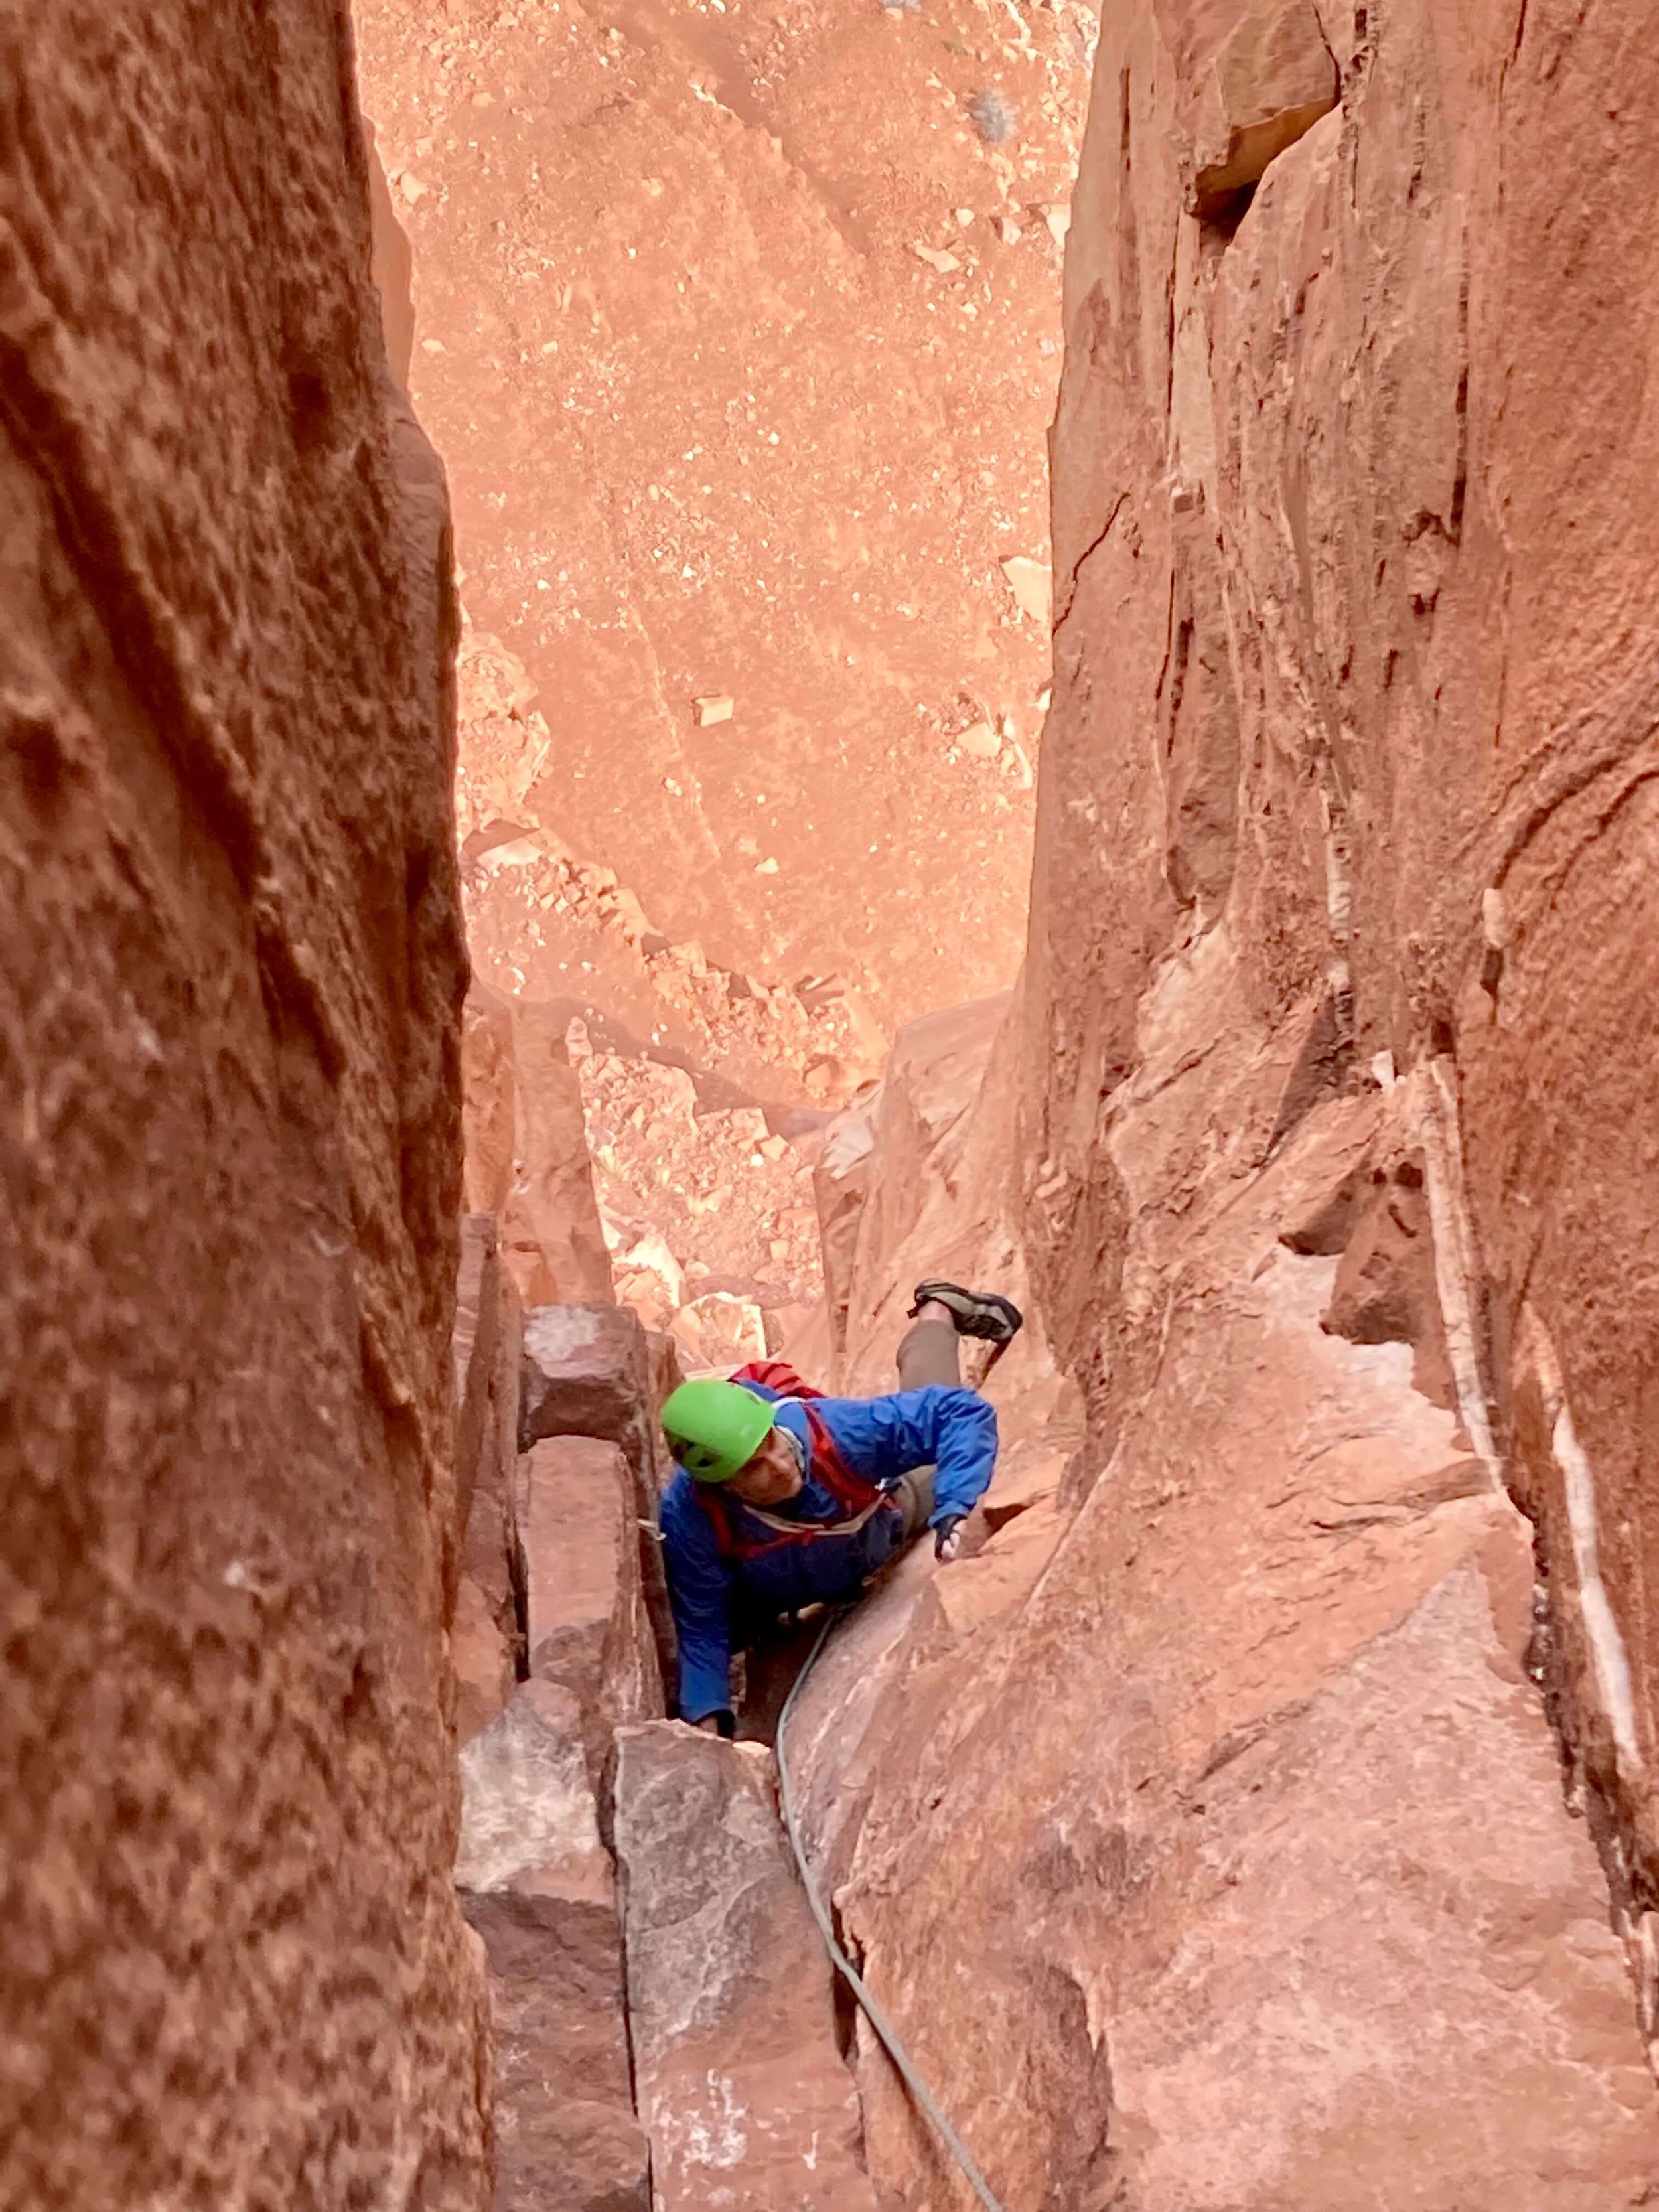
Surrounded by a plethora of towering red cliffs, spires rising from the sand and the Colorado River cutting through the middle of it all, the rock climbing options around Moab are endless. Whether you’re looking to focus on customized crack climbing instruction at one of the local cliffs, hone your trad leader skills or apply your climbing movement and efficiency on one of the many desert towers, Skyward Mountaineering offers customized private guided rock climbing throughout Moab.
Multi and single pitch rock climbing with routes ranging from 5.6 to 5.13
With a variety of routes for all ability levels, there is no previous experience required
Late February - late May and mid September - late November
Climb A Desert Tower or Hone Your Crack Climbing At World Class Sandstone Crags
-
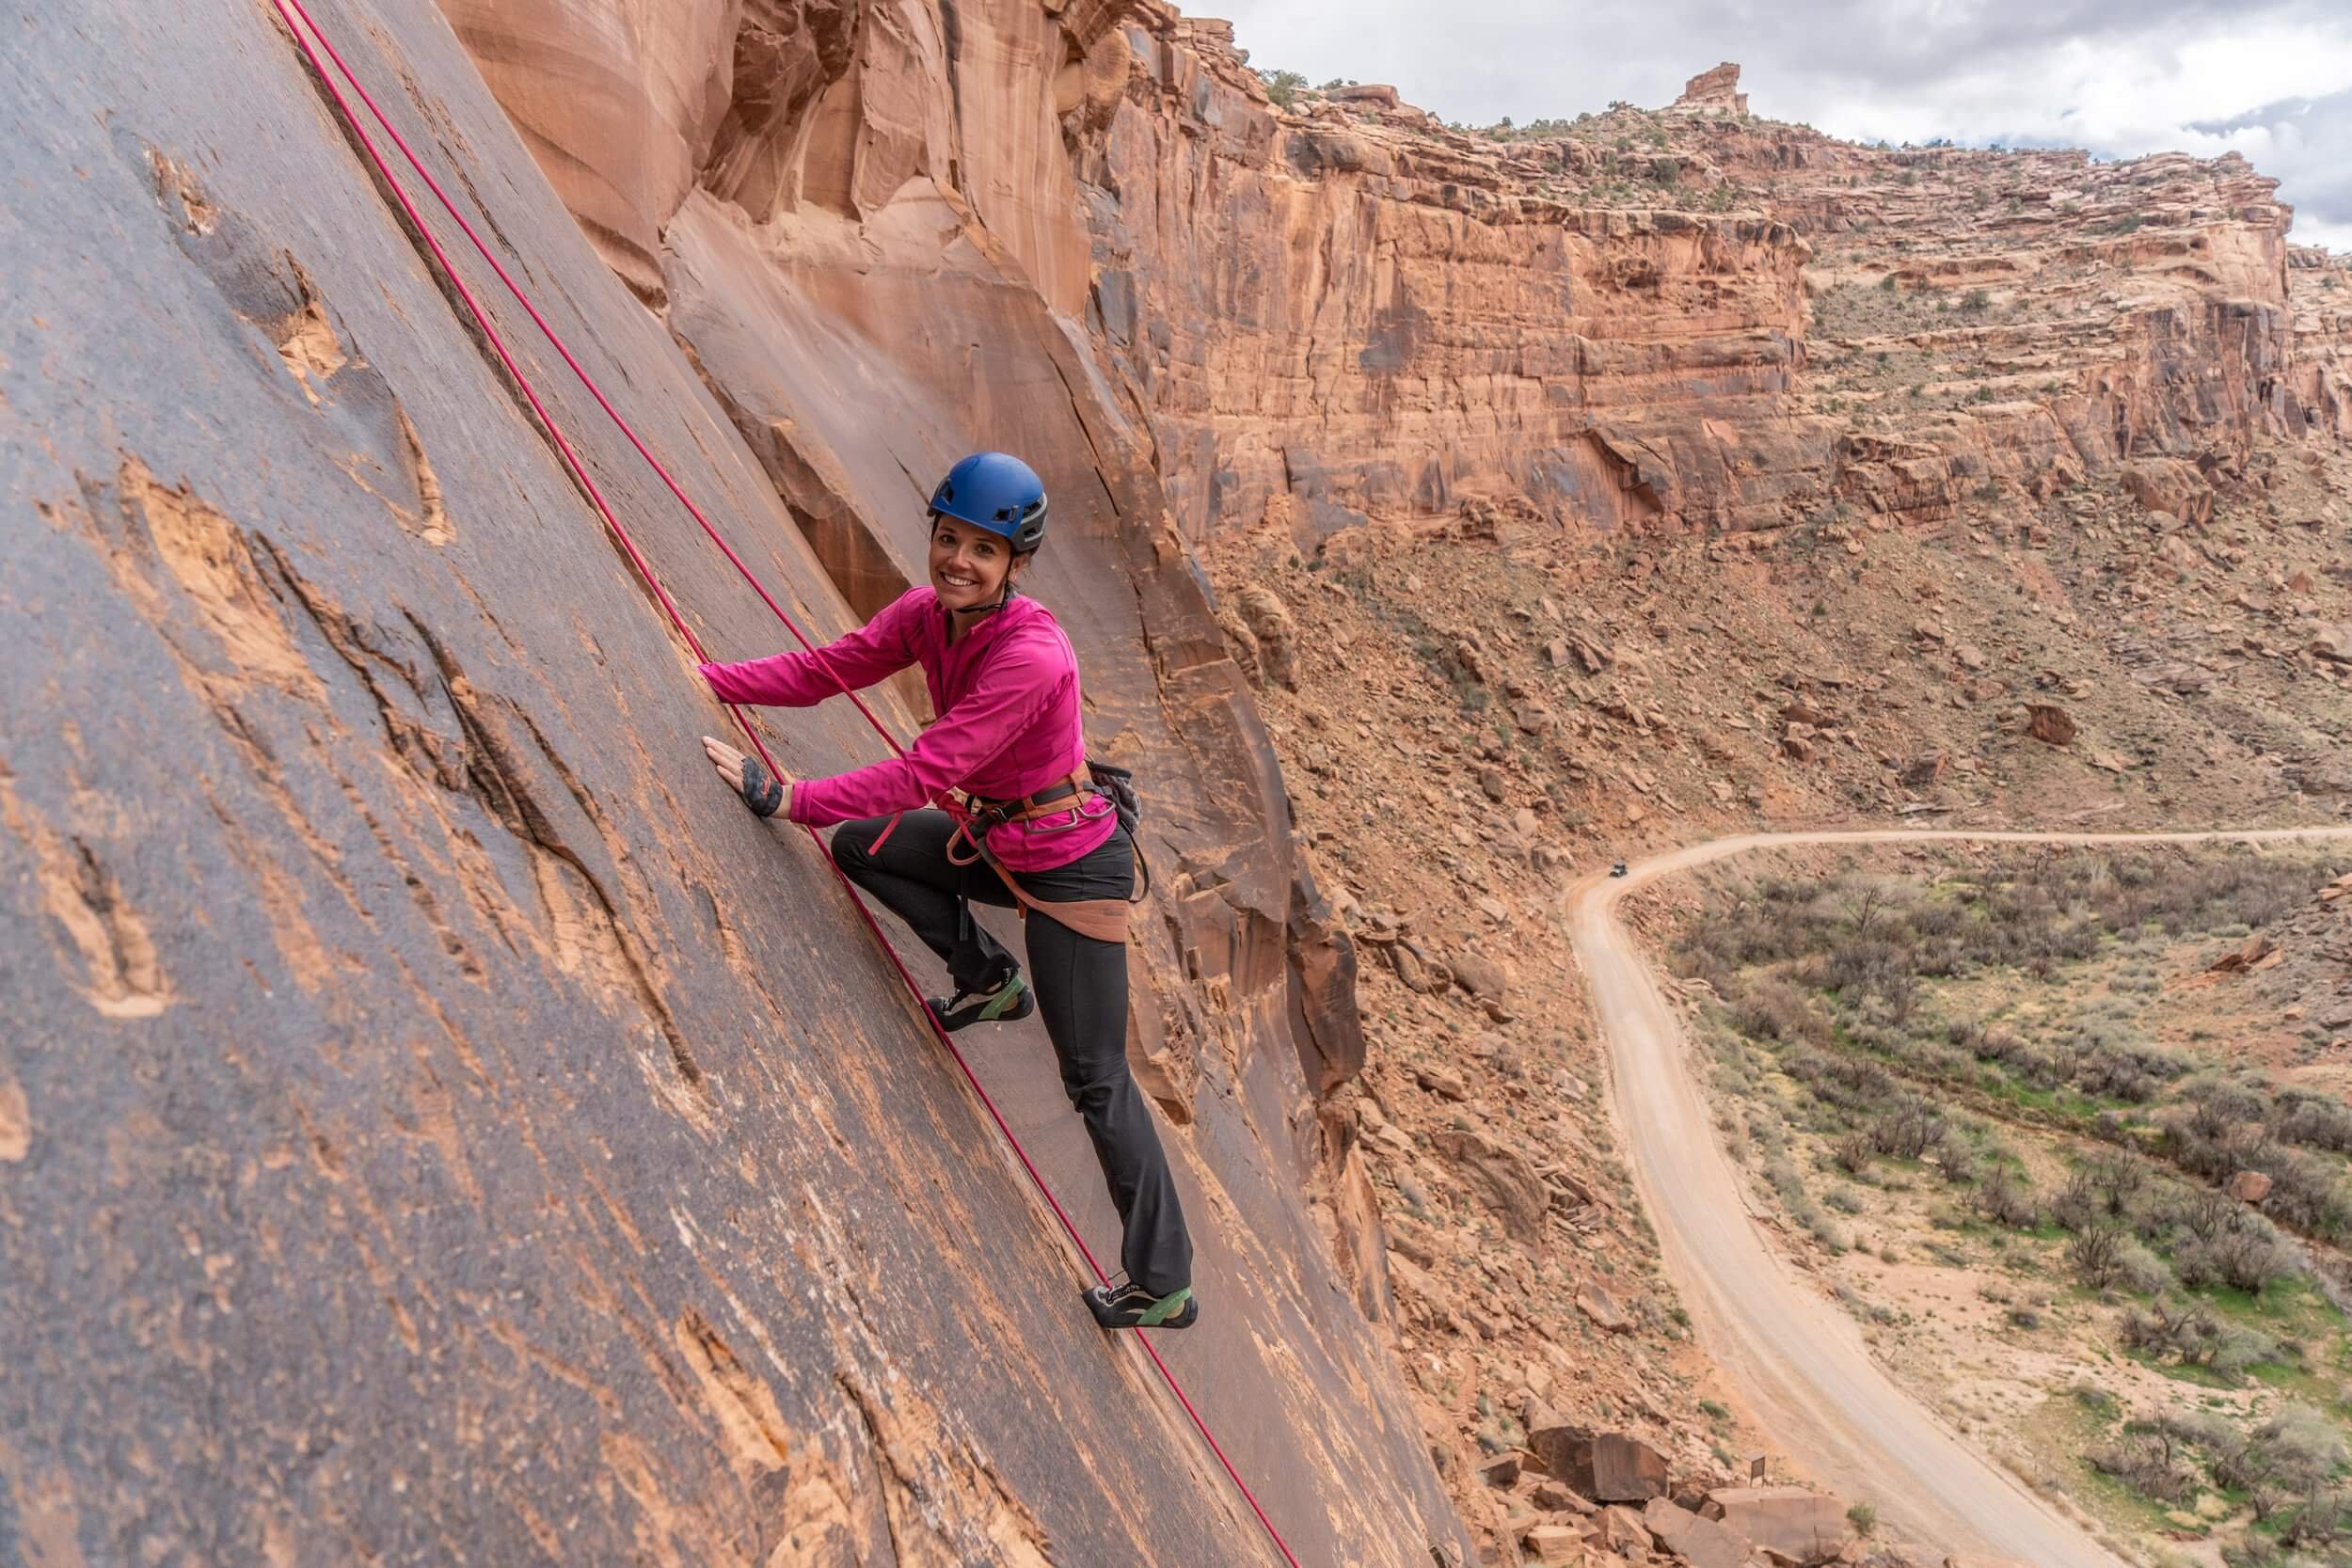
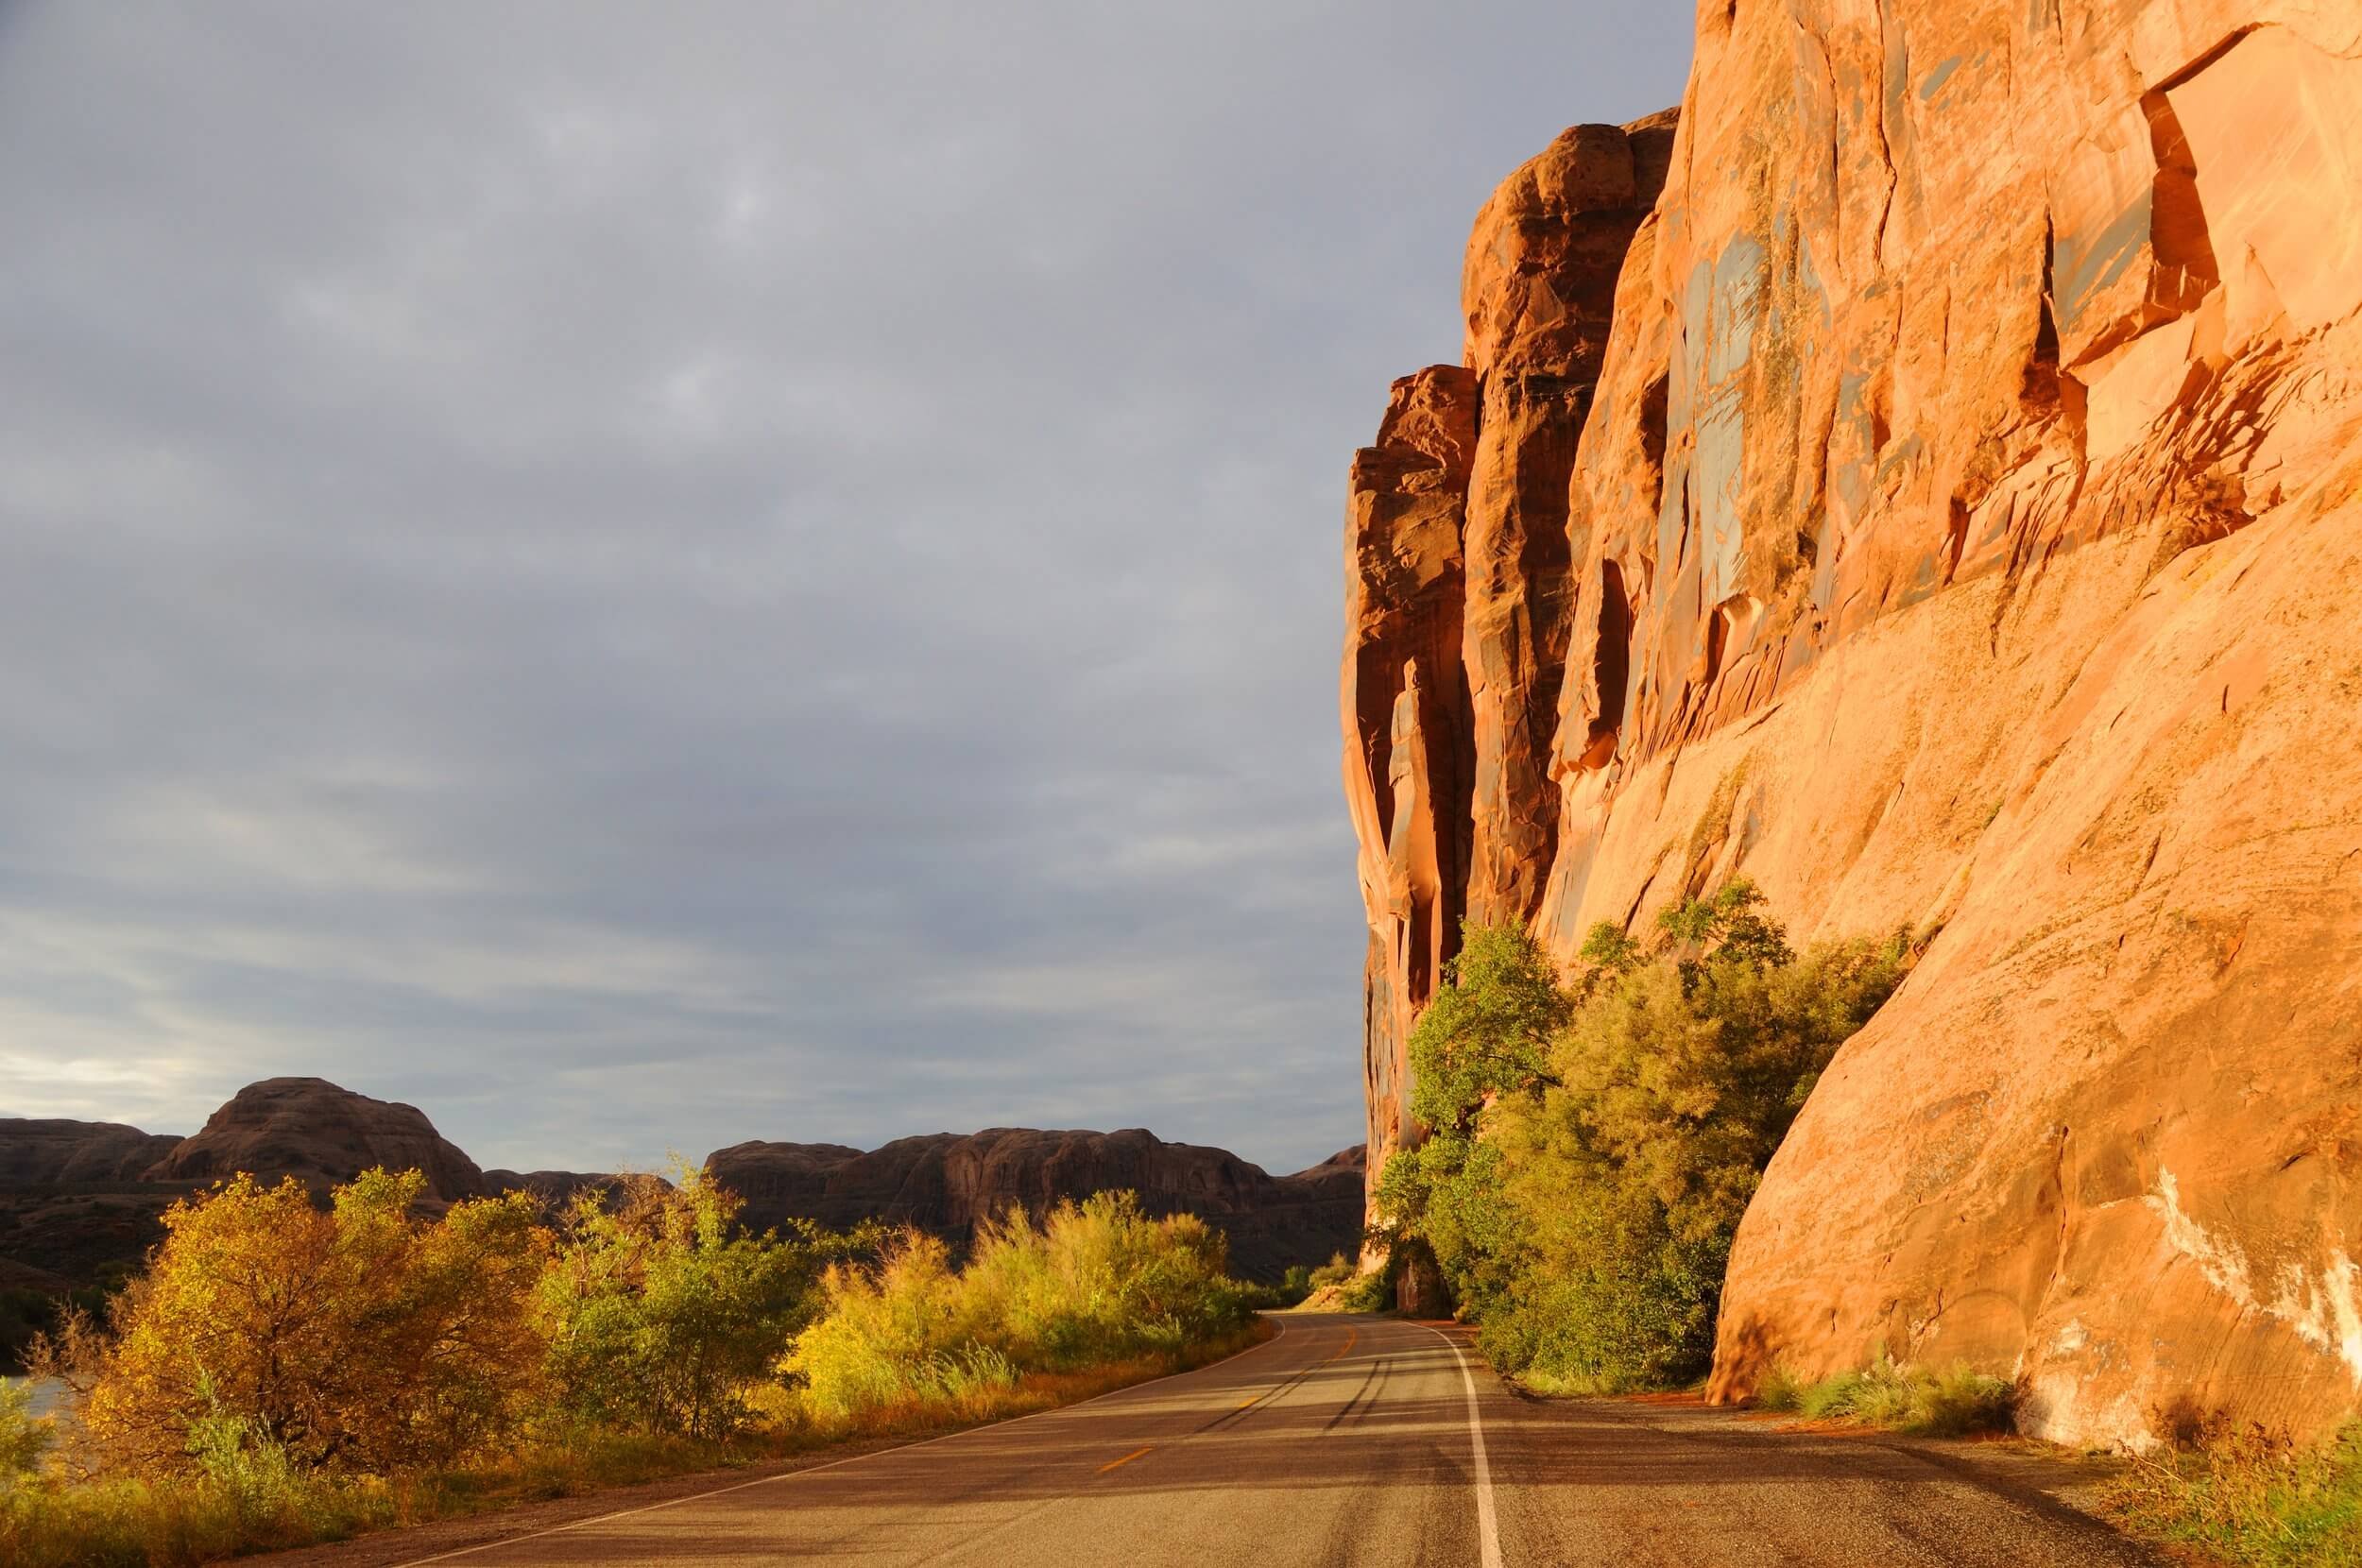
By far the most convenient rock climbing area in the Moab area, Wall Street is a roadside cragging destination that hosts dozens of incredible quality rock climbing routes. With a bag of chips and cold beverages 10 steps away in the cooler, you could literally belay from the car at this famous zone. From 5.6 slab climbing fun for the family to technical, thin crack climbing and challenging face climbing, Wall Street is filled with multiple classic routes that are fun and easy to hone your movement skills and get the most bang-for-the-buck by removing literally all approach time.
Here are some of our favorite rock climbing routes to guide at Wall Street:
30 Seconds Over Potash (5.8+)
Flakes of Wrath (5.9+)
Potash Bong Hit (5.9+)
Another Roadside Distraction (5.10)
Lucy in the Sky with Potash (5.10)
Static Cling (5.11-)
Skeletonic (5.11+)
Under the Boardwalk (5.12)
-
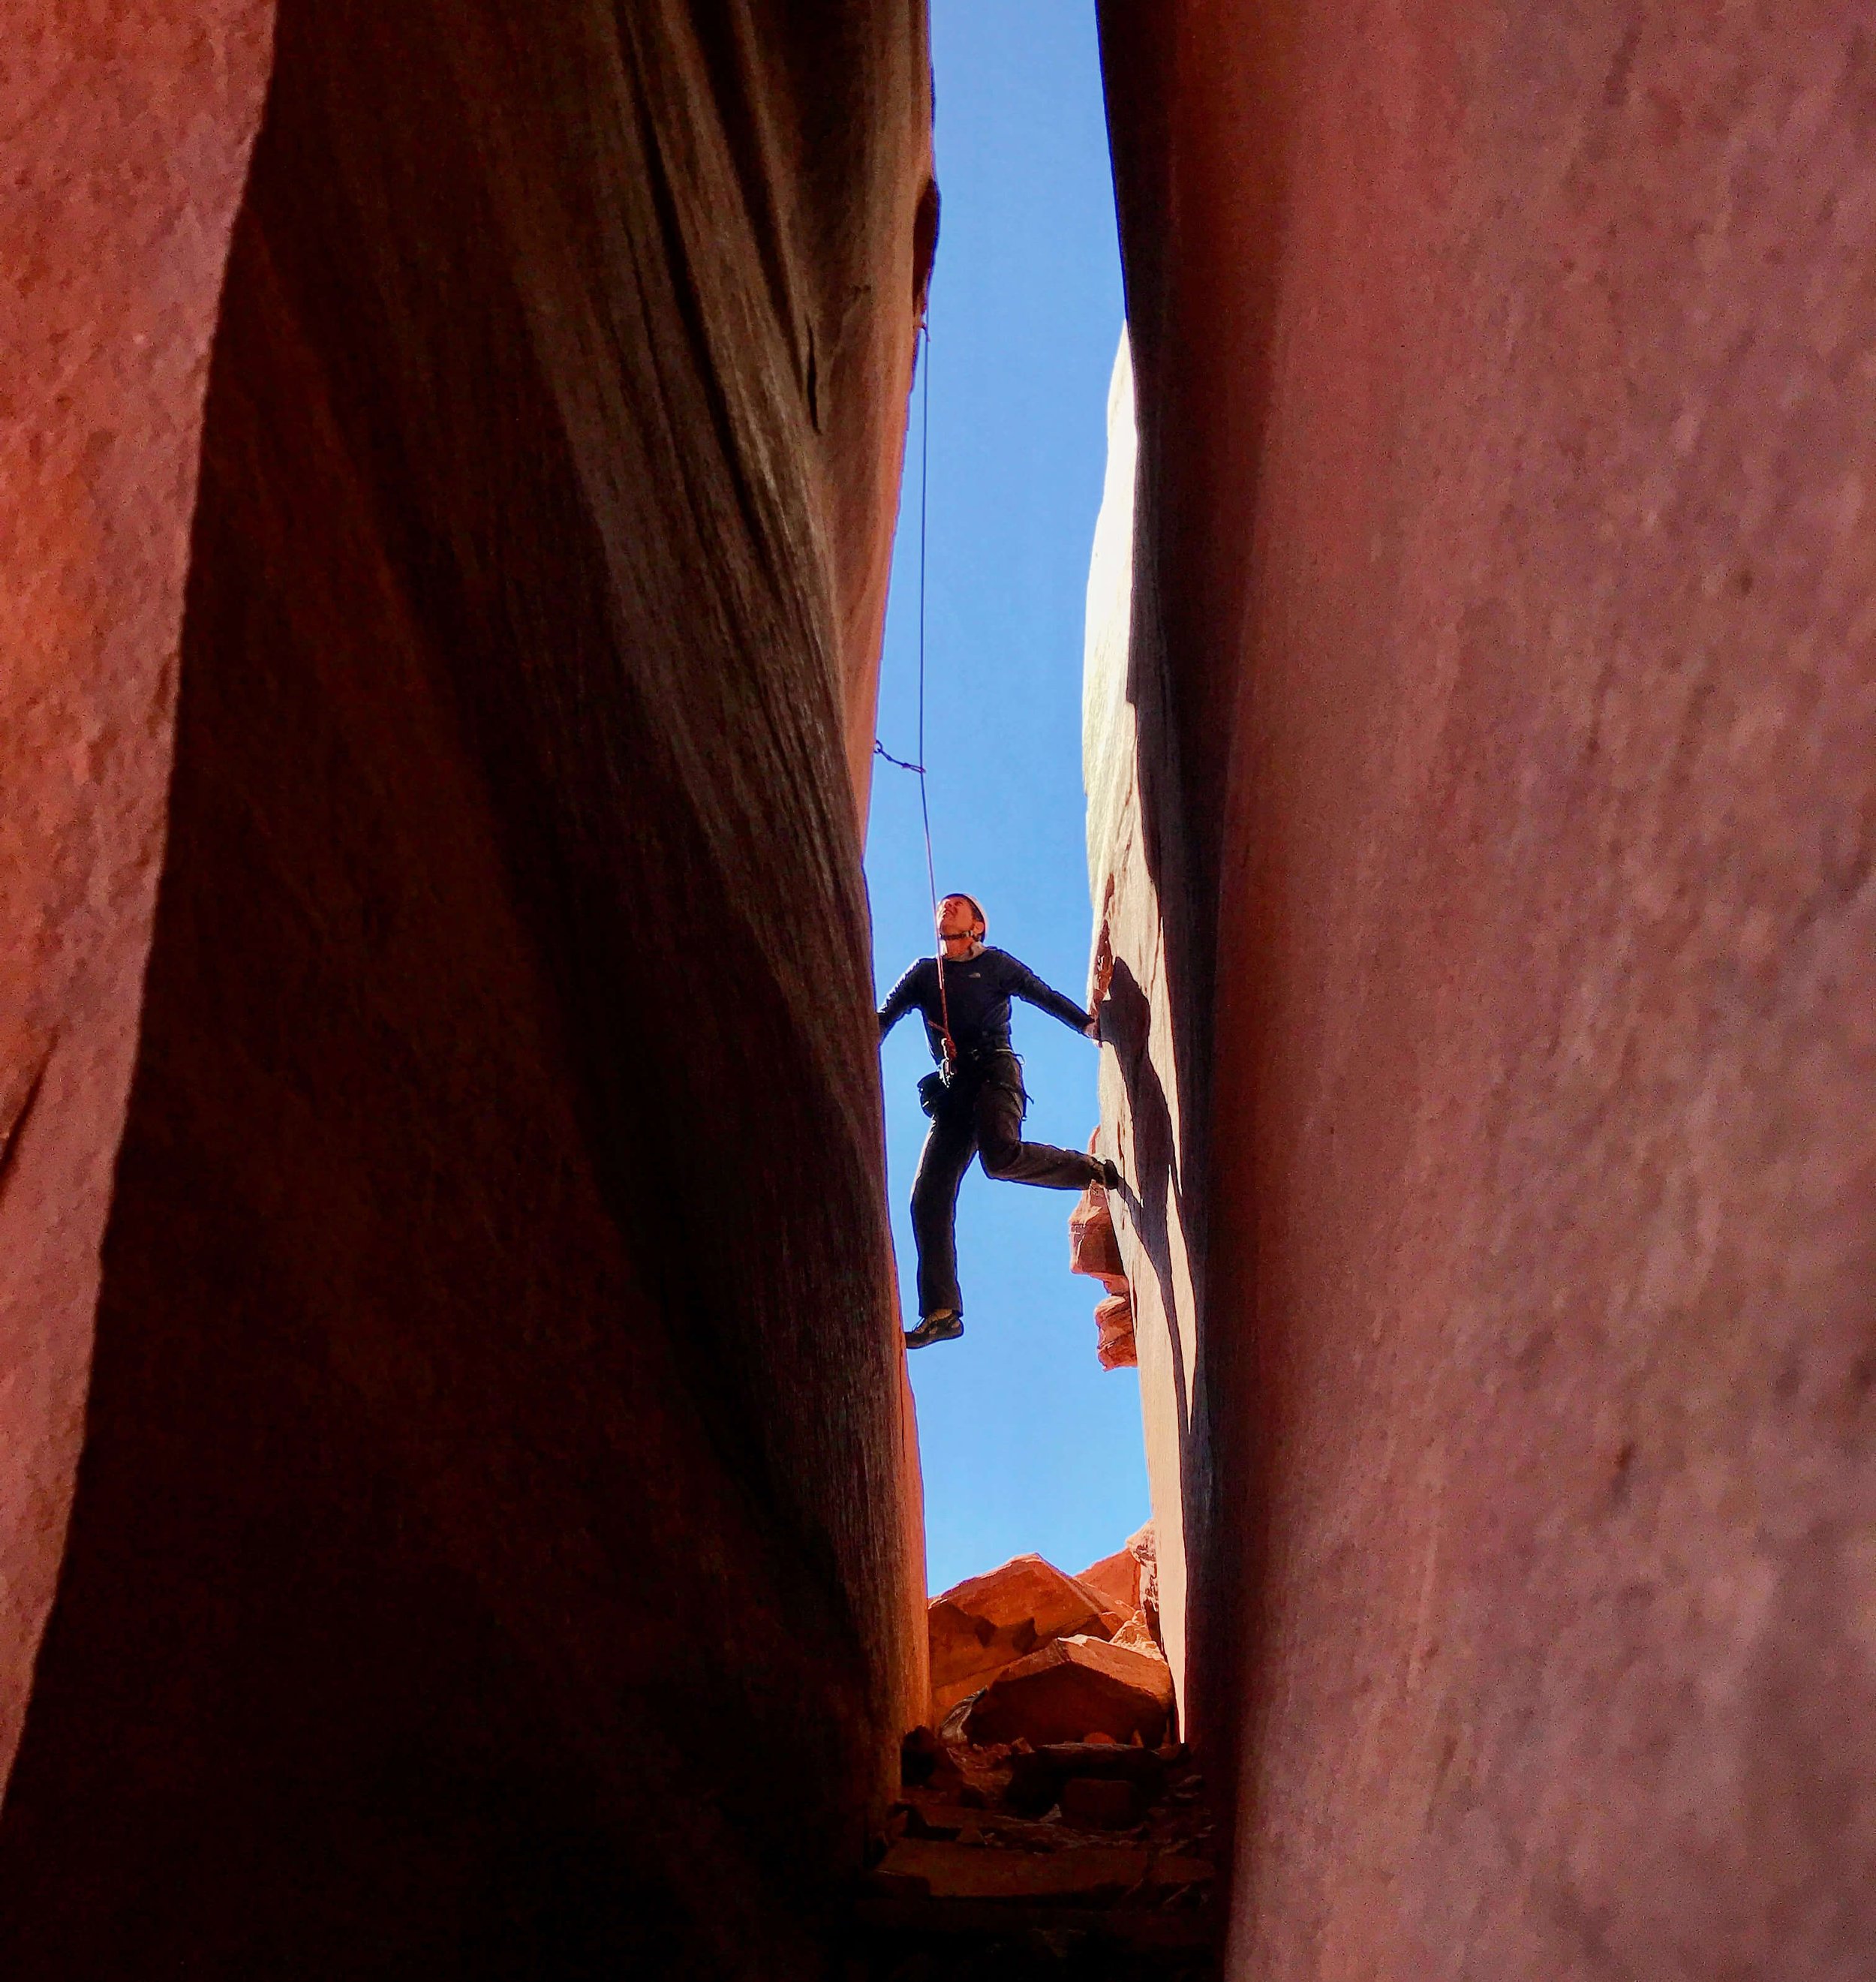
Just outside of downtown Moab, Kane Springs Road diverts from the large canyon cut by the Colorado River and enters a deep and narrow canyon surrounded by multiple fantastic rock climbing crags. The crags along Kane Springs Road host a variety of opportunity with some perfect for beginner climbers wanting to focus on movement and basic systems, others for more advanced climbers looking to improve their crack climbing skills, and even some big and challenging multi-pitch routes up prominent buttresses. With the short approaches we will very often visit multiple rock climbing areas in this zone on the same day.
Ice Cream Parlor:
A great rock climbing area with a short approach, this crag is stacked with single pitch low angle cracks to hone your techniques on moderate routes and also hosts several multipitch routes to practice transitions and efficiency without getting committed on a desert tower.Abraxas:
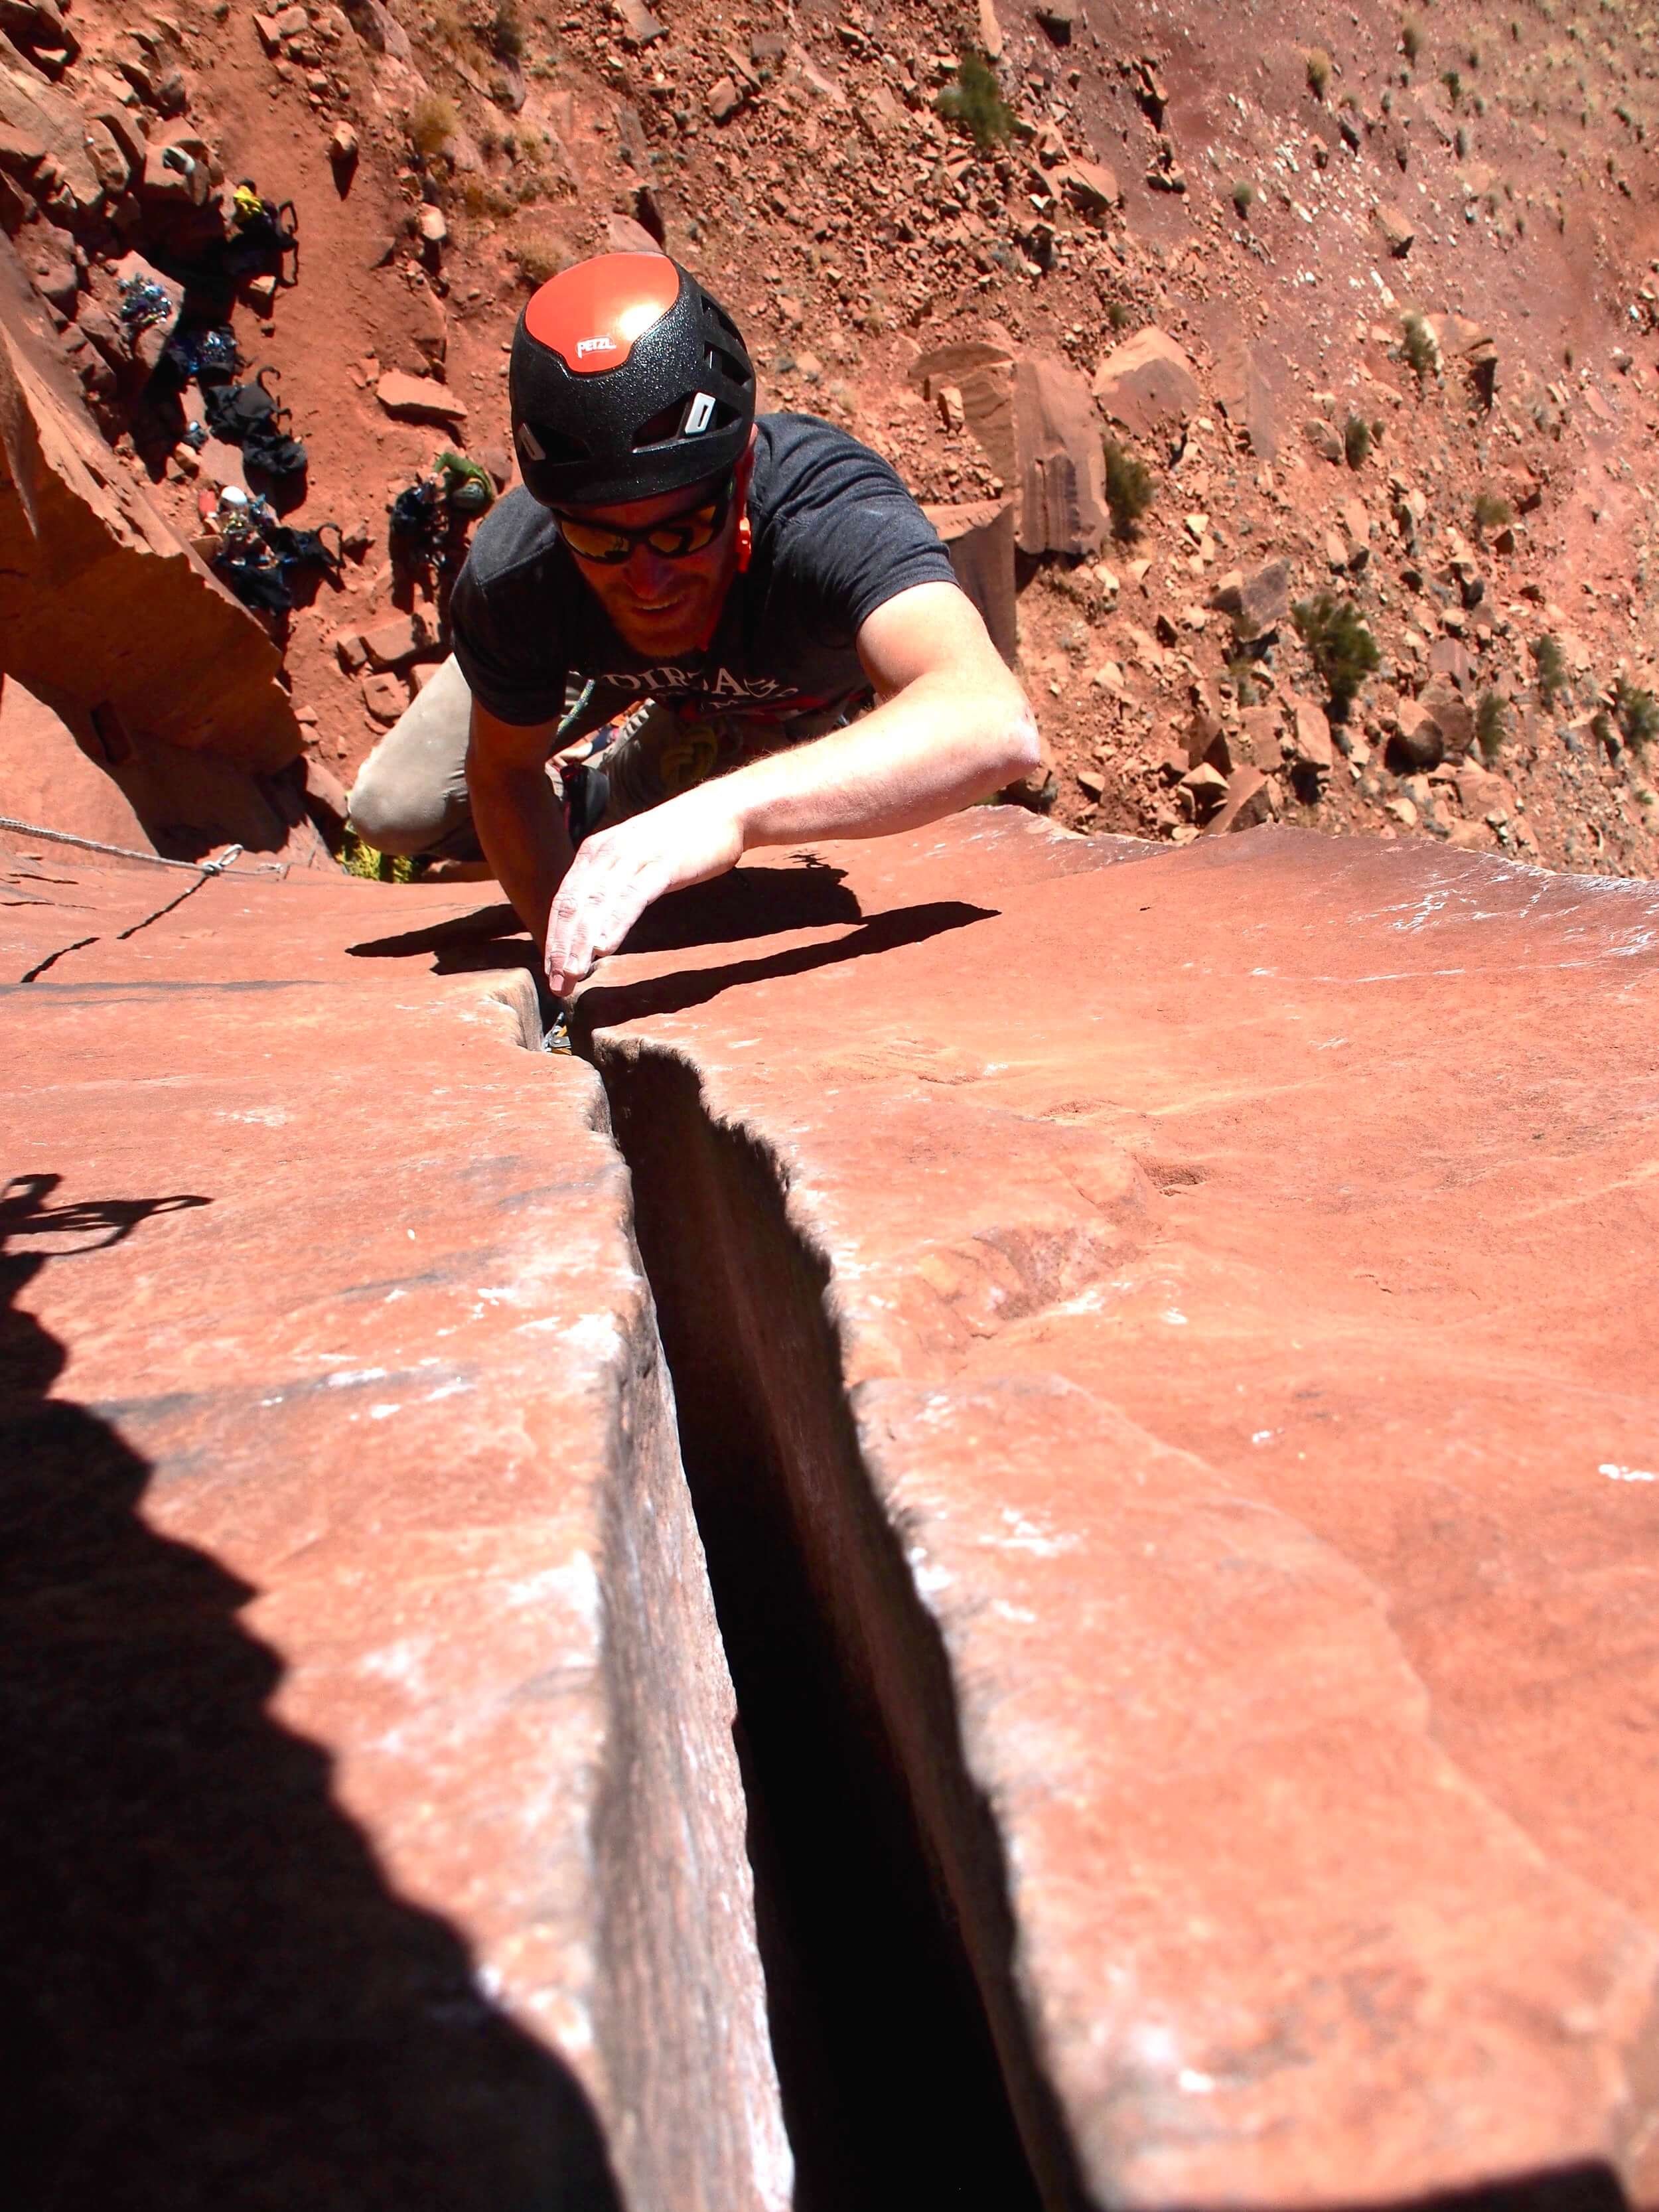
This sunny crag hosts multiple 5.10 cracks of a variety of sizes. Perfect for climbers looking to hone their crack climbing movement skills in a scenic setting. -
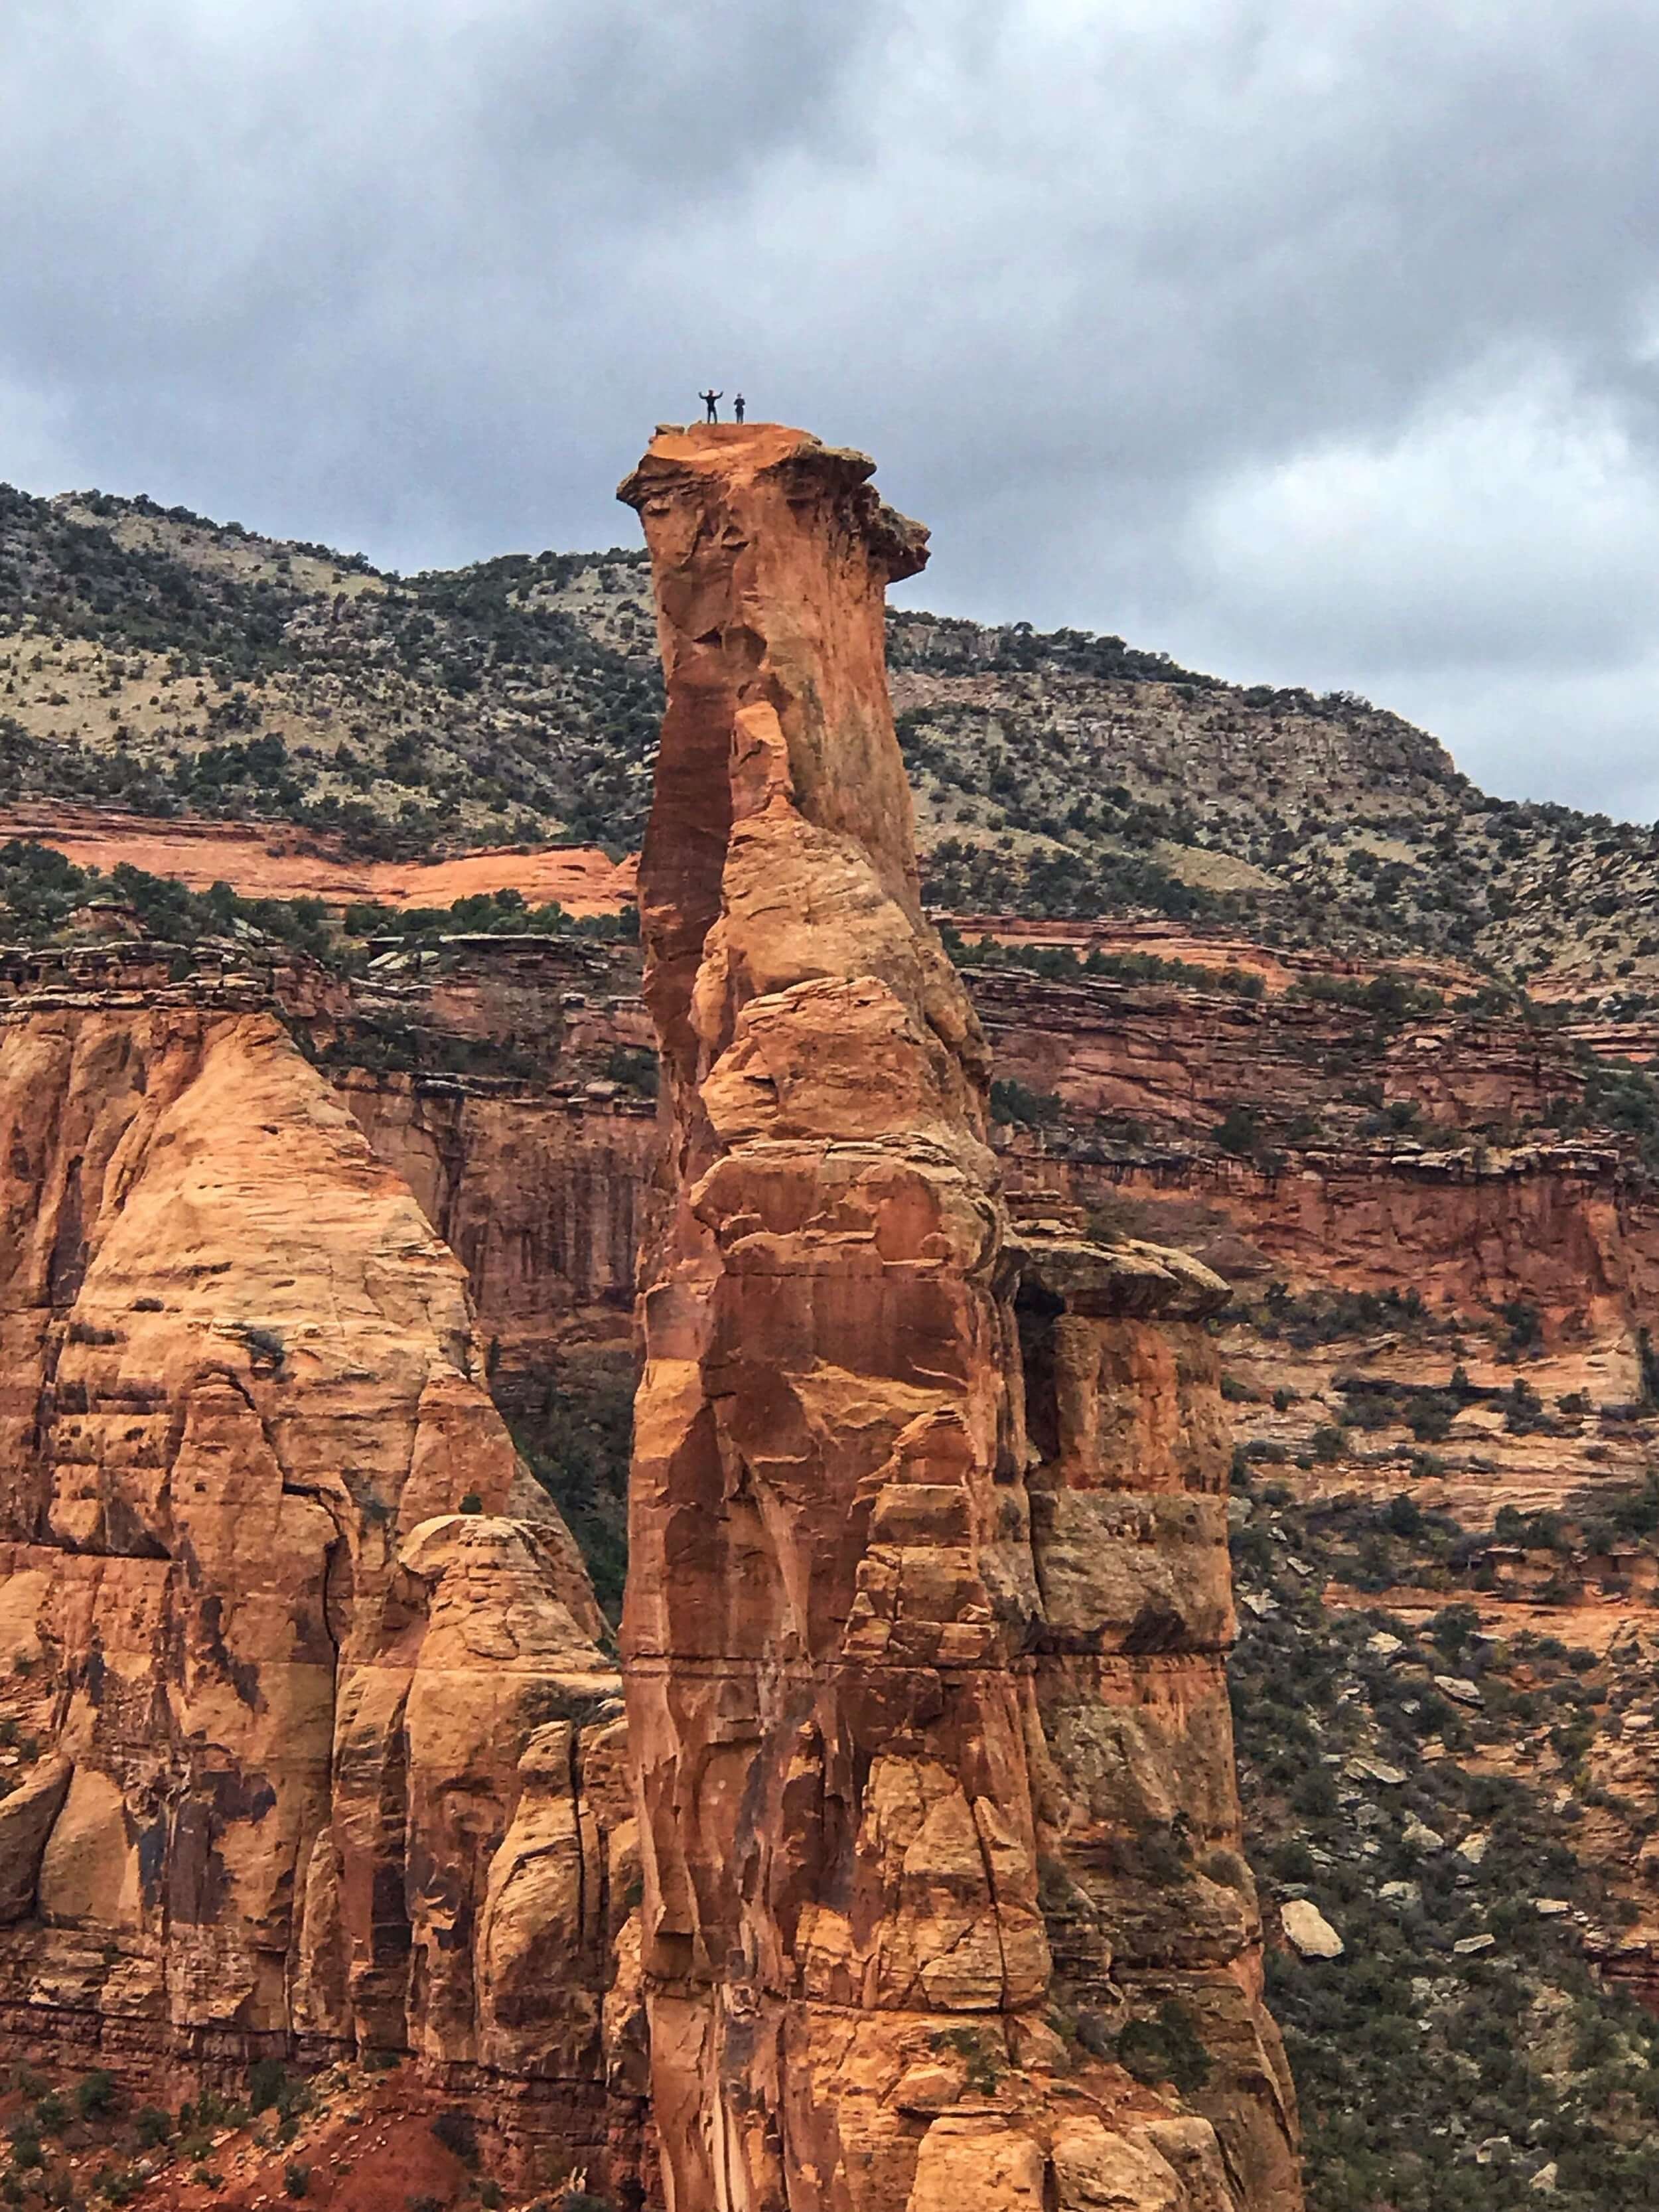
Look no further for multipitch rock climbing adventures on Moab’s desert towers. Castle Valley is arguably the most concentrated location for classic towers with a variety of grades from intermediate to advanced. Other classic routes, such as Ancient Art, Lighthouse Tower and other more obscure and challenging routes dot the landscape of the Moab desert.
We can create an itinerary that will help you learn the nuances of crack climbing so you can jam your way up to the summit of a desert tower with a smile on your face. Or if you’re just looking for a partner to cover the logistics and facilitate your dream ticklist route, our team of AMGA Rock Guides are excited to help you achieve your goals.