How To Climb Bird Brain Boulevard
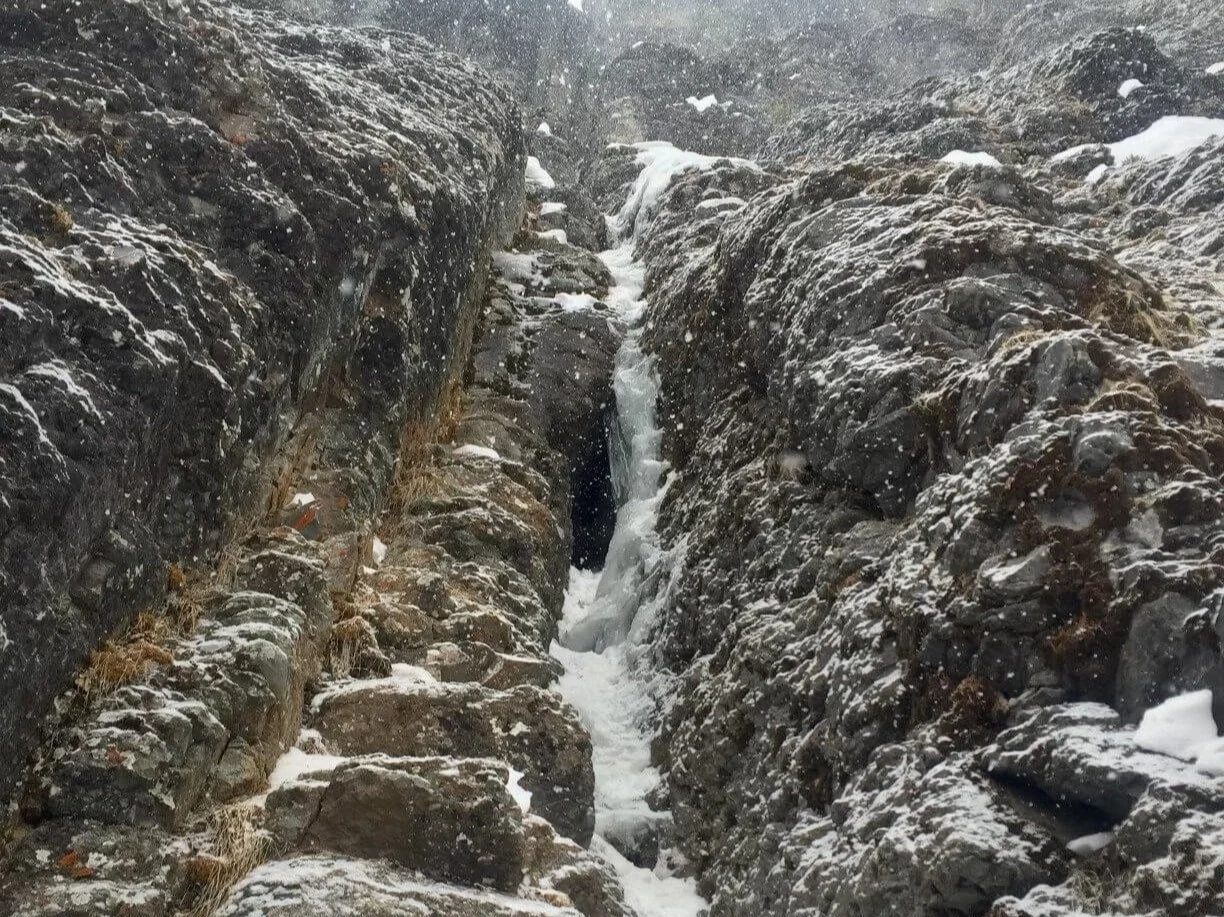
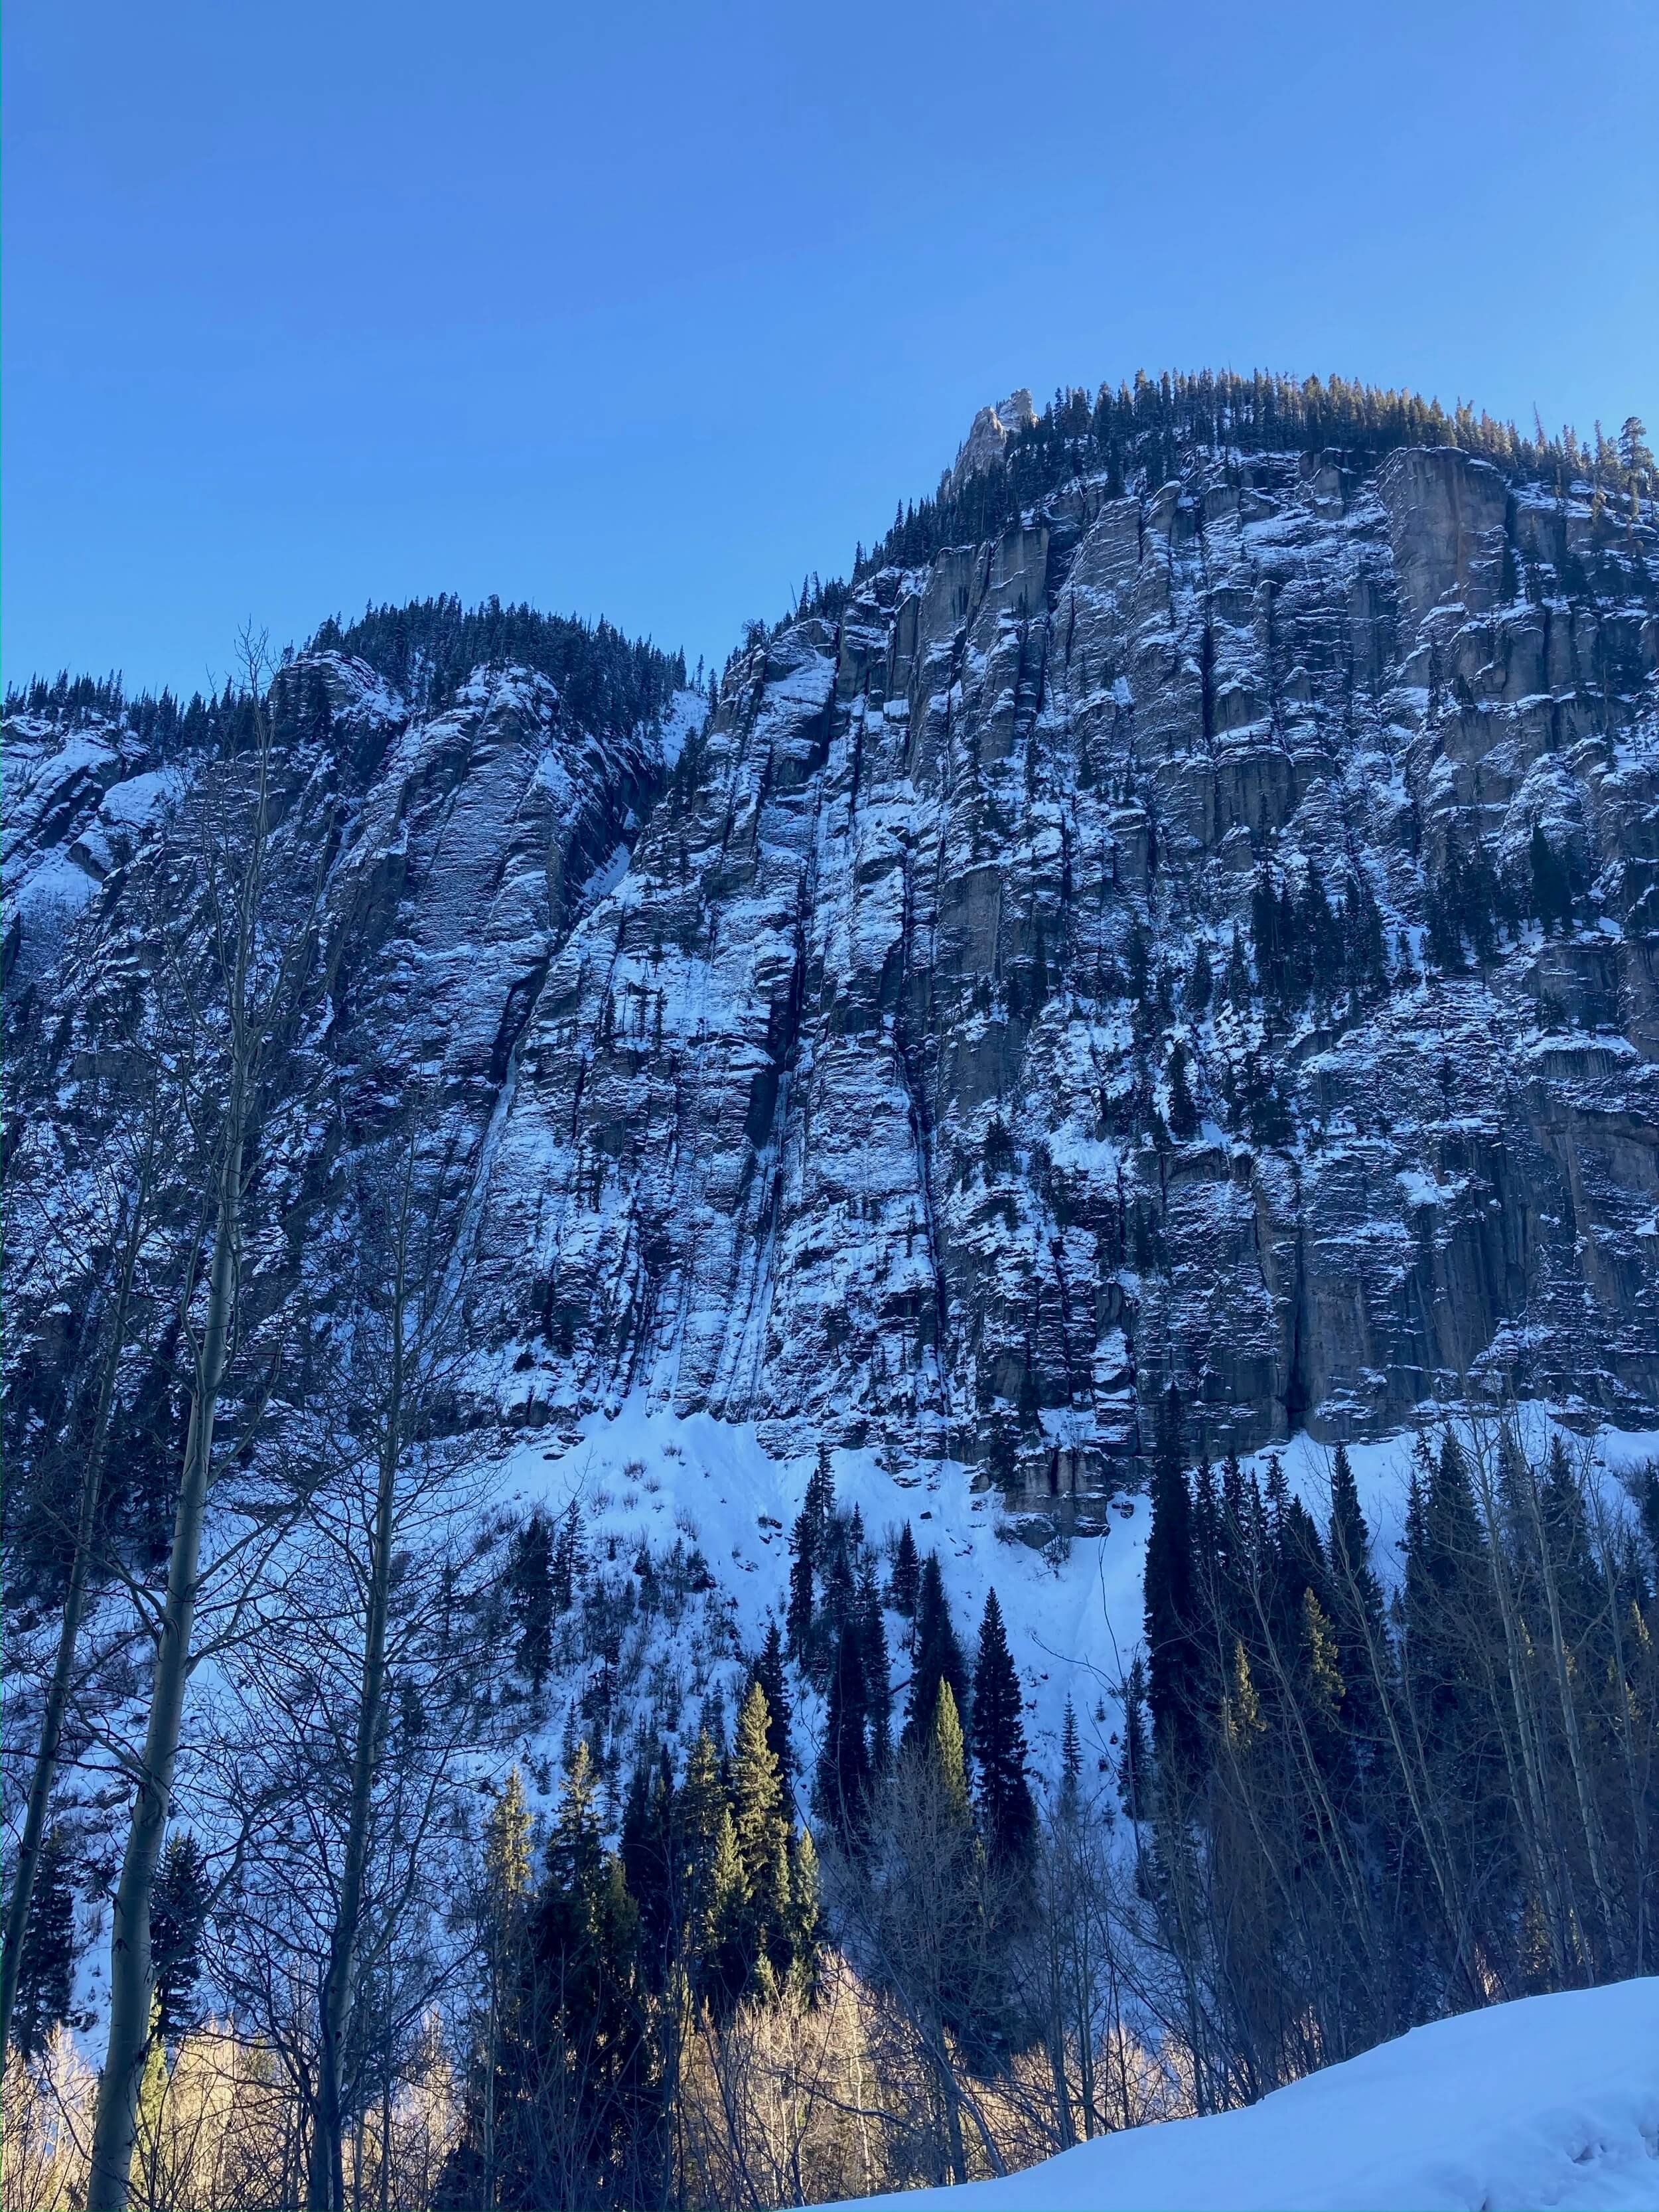
There’s a somewhat famous climb in Utah’s Indian Creek called Half Shark-Alligator, Half Man. It being named for its rather unique (non-crack) climbing style required for the famous crack climbing venue. Bird Brain Boulevard (aka BBB) could easily get a similar moniker in the ice climbing world. It is among the most well-known and coveted climbing in the Ouray area if not in the US. It’s an “ice” climb in the sense that you need crampons and ice axes to get up it, but most of the climbing will feel like something else. When its “in” you can count on it being about 40-50% ice climbing in the 1,000 feet of chimneys which it ascends. Being inside chimneys also makes it hard to swing the axes since you often cannot get much of a back swing. The ice that is there is usually too thin to put ice screws in. On my thirteen or so ascents, I’ve never placed more than four on any pitch. There’s often some good frozen grass clumps and there even used to be a few pieces of wood jammed into the back of the chimney with which you can also get good purchase with your axes.
As you can imagine there is a lot of rock climbing, mostly in chimneys, but also often a short bit of featured slab, which when covered in snow can be the real crux. So, what are the strategies to best have success on this highly sought after mixed test-piece?
This is not your typical ice climb
You really need to be a good rock climber, as well as an ice climber, and need to be comfortable with a lot of dry tooling. The ability to climb efficiently in places like the Black Canyon is a real asset on BBB. Having done longer routes the like the Scenic Cruise, Journey Home or Russian Arete (lots of chimneys!) will pay off. Though much shorter in length, climbing BBB will take most of (if not all) the available daylight - you need to be able to move quickly. The ice that is on it is quite thin, so be prepared for some delicate ice movement. So, early season ice climbing, before the routes fatten up and get picked out by a lot of traffic will greatly help feeling comfortable on the stretches of moderate but thin and hard to protect icy chimneys. And for icy chimneys, the routes of the nearby Skylight area (Choppo’s Chimney and Slippery When Wet) are great for getting used to swinging your axes inside a chimney. This can be awkward since the wall behind you will inhibit your back swing. Better yet, get on some of the Skylight area routes in the early season when they are thin!
Managing the chimneys
With all the chimney climbing involved you really need to have a good system for dealing with those and your pack. Even with a small pack the last two pitches, which are completely dry (no ice) are a real hassle to climb with a pack. A good strategy is to climb with a lightweight single rope and an additional thin tag line for the rappels (more on those) that you could haul your packs on some of the upper, more narrow chimneys with. As for the pack, you should try to bring a very small one (15-20 liters) with just some extra water, a few snacks, a headlamp, communication device (InReach), stripped down first aid kit, and a belay parka. The route itself is not very threatened by avalanches, however the approach to it (especially when under the Ribbon) is, so be alert to this hazard and bring avalanche safety equipment for the approach. You will not need it on the climb depending on your choice of descent routes.
The Rack
Your rack will vary based on current conditions, but here is a good baseline when the route is in “normal” conditions:
1 x 70 m rope; a 60 m will work, but the 70 will help avoid much if any simul-climbing
1 x 70 m tag line (5-7 mm)
2 x 16 cm ice screws
2 x 12 cm ice screws
1 - 2 10 cm ice screws
1 x KB
1 x LA
1 each x .1 - .75 Z4’s (or equivalent micro-cams)
1 x .5 - 3 C4’s (can be nice to have doubles in mid sizes)
1 x 4 C4 (optional, useful for one move on last pitch)
6 - 8 x sm – med wired nuts
4 - 6 QD’s
4 - 6 extendable draws
2 x double length slings
2 x triple or quad length slings
1 x cordelette
1 x micro traxion or similar progress capture device (to assist with simul-climbing)
1 x headlamp per climber (it can take longer than you think)


Pitch-by-pitch breakdown
This is a detailed description of each pitch on the route, even more than you’ll find on Mountain Project or the guidebook!
Start up either of the two large parallel crack systems into the main gulley. There is very little protection here, but the climbing is mostly easy. Once in the big chimney (with large chockstone looming above) you can find some pro along the walls. Some belay here, right at the entrance to the big chimney. Otherwise, continue to the back of the chimney where, if you’re lucky, you can get in some ice pro, or use a #3 C4 (or similar) in a pod on the left wall to anchor with. 65 meters, M4 or 70º snow
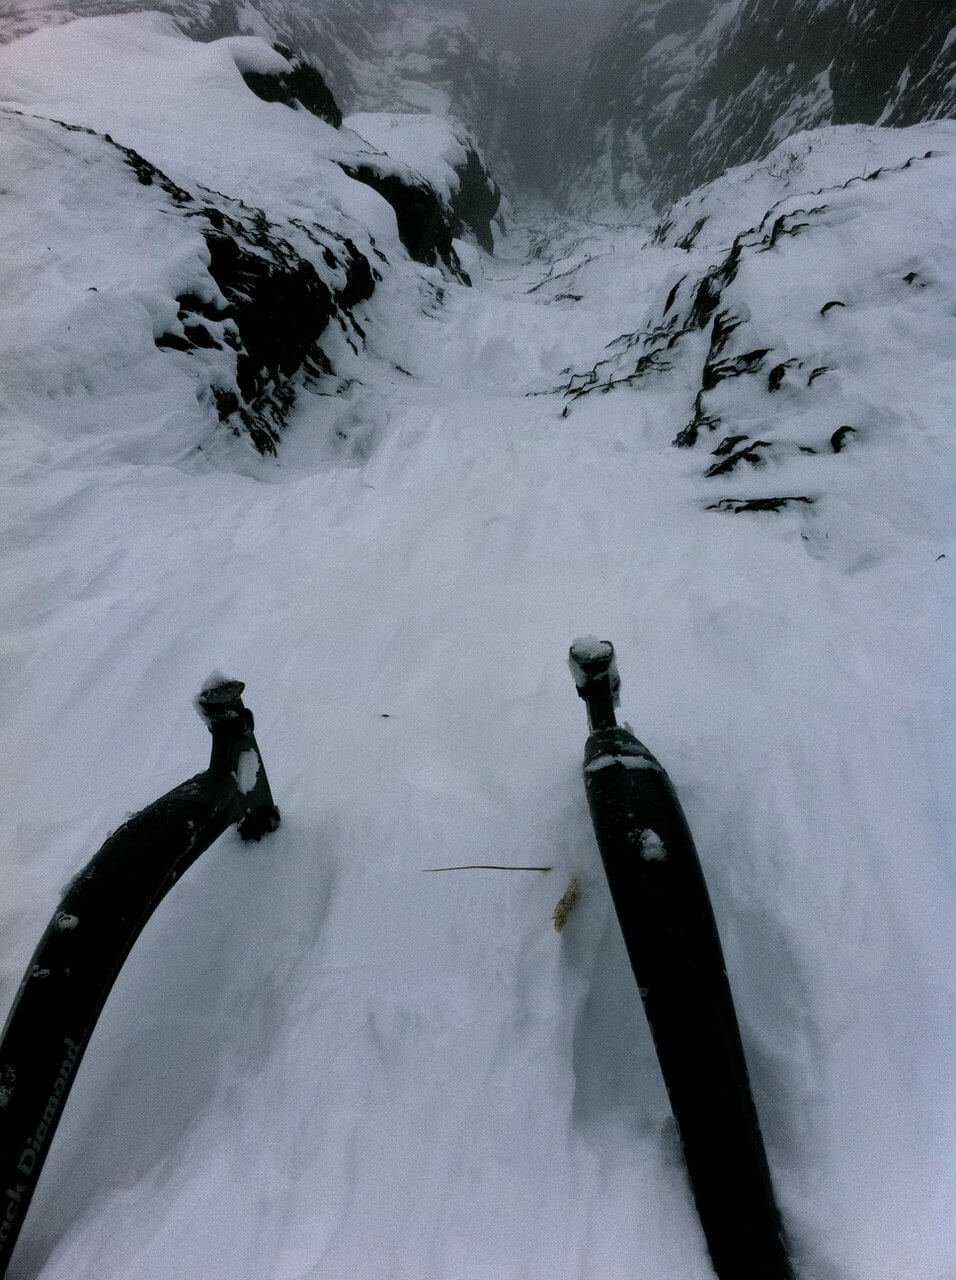
Climb ice and/or chimney up and behind the huge chockstone into the next section of wider, lower angled terrain. When this slab is ice covered it is fun and moderate climbing, though when dry or blanketed in snow (even more challenging) the climbing is more thoughtful. Even in drier years, the slab above usually holds some ice near the top on the left. The right side of the slab is a bit steeper but has better protection and is good climbing. The left side is easier, though has little or no good protection. Either way leads up and eventually left to the ice smear. Climb this a short ways to a big ledge with numerous, though spread out, anchor placements. 40 meters, M5 or WI4
There is usually a short ice pillar here, or at least a part of one, that can be climbed for 5 meters. There is good protection in the crack behind and left of the pillar (hand size cams). Alternatively, if the pillar is not formed, one can do a big traverse to the right, slightly outside the main chimney, climb up easier rock, then traverse back left to join in the main gully again. Once beyond the pillar, continue up, passing another short, steep chimney section (ice) until eventually arriving at a spacious alcove. There is a good anchor found immediately upon entering this alcove, right above the last chimney bit, right at 60 meters. Alternatively, there are good anchor opportunities at the upper right side of this alcove at 65 meters. 60-65 meters, M6 or WI5
Head up the corner in the back, right side of the alcove. This is good mixed climbing with fine protection (M4-5). Above this, aim back left towards the main chimney section and again, climb some short, steep chimneys with some (often rotten) ice in the back. Stop to belay as soon as you can find any decent anchor protection, otherwise it is at least 70-75 meters to reach the base of the next big ice pillar with good anchor options. This is often broken into two pitches. M4-M5, 50-75 meters.
Continue up the main chimney to the big, fat ice pillar, climb it, step right and make a nice, comfy belay on the huge ledge. There are a lot of big, loose rocks here, so be careful. WI5, 40 meters.
Move right along the big ledge into an obvious, steep corner. Climb this via good dry tooling and frozen moss. There is good protection here. At the top of this corner, continue up via some frozen grass, get any pro you can on the wall above, then move back down a little bit onto the grass and start an airy traverse (M3-4) left, back towards the main chimney. You can put away your ice axes here because you won’t need them again. In good conditions, there is a solid snow ledge to traverse on. In bad, it is just snow-covered rock slabs with snow covered handholds. Other than whatever protection you placed near the top of the grass, there is no pro for this traverse so proceed with caution: it is no place for a fall. Once back in the chimney, climb up the 5.6 chimney until popping out above into the next ledge/alcove. If you’re using half ropes this is a good pitch for them! Only clip one for the initial section, leaving the other free until well into the chimney, you can much better protect the second on the traverse with a rope coming from way up above. 5.6 M5, 50 meters.
Continue up the dry chimney towards the top. There is one awkward move around a chockstone that has a few OW moves. A #4 Camalot is handy here. More of the same brings you to the final chockstone to surmount you may end up inside of this one and have to move out of the chimney some to get around. Wallow through 5 meters of snow and belay from a large tree. 5.7 M5, 45 meters.
And finally, the descent
One thing to keep in mind is that this is a committing route and not to be taken lightly. Do not attempt the route unless you are confident it is well within you and your partner’s abilities. It is not a route you want to retreat from. It’s as close to a true “alpine” route as you will find in the Ouray area. It is best to climb to the top to descend.
From the top of the route you have two options for the descent, neither of which involves going back down BBB. Seriously, don’t do this. If you find yourself needing to rappel back down BBB, then something went wrong.
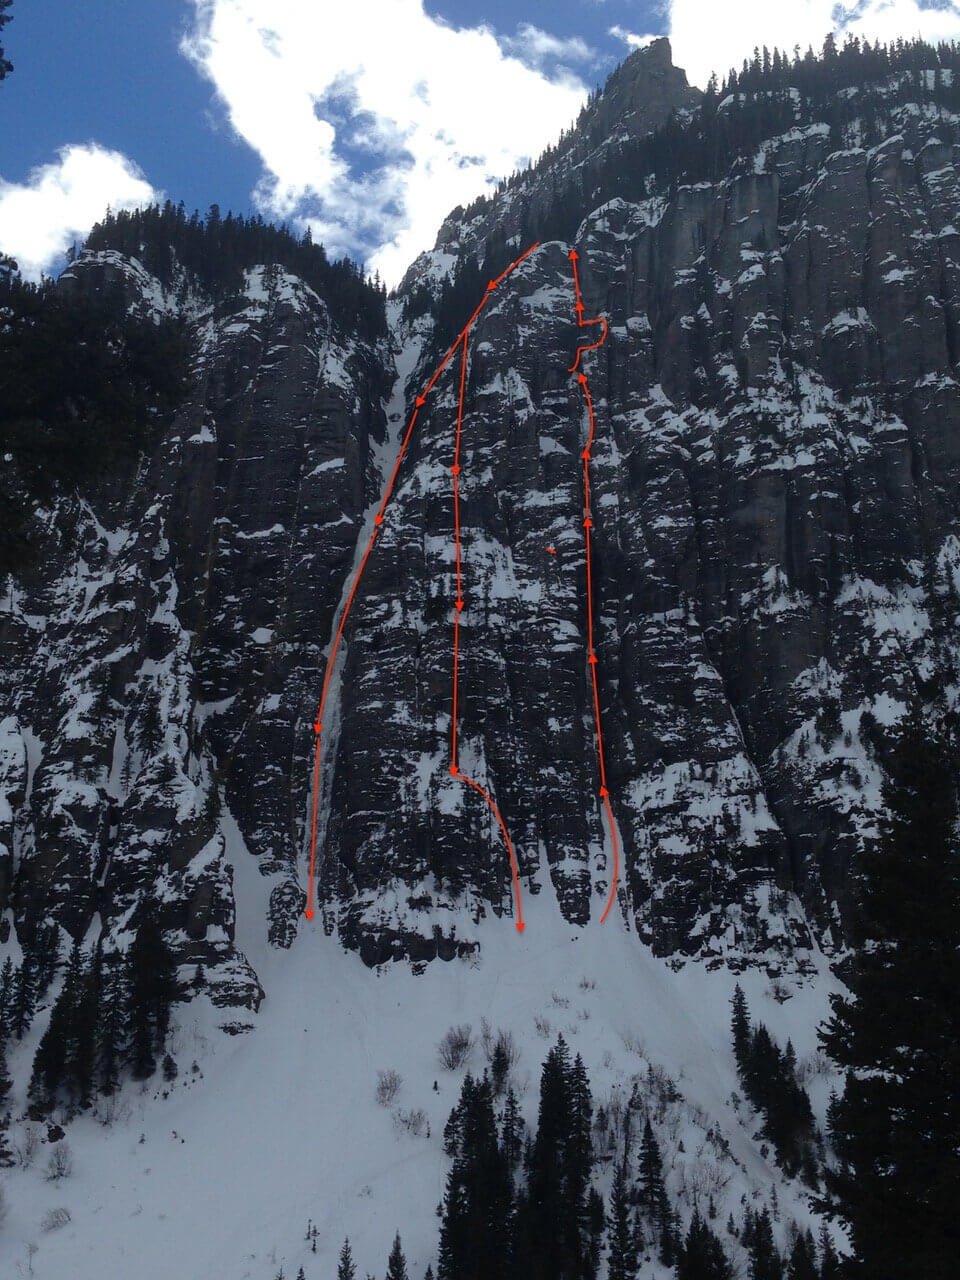
For descent, you have two options: one is to rappel into the Ribbon and proceed down the fixed rappel stations on that route. However, this can be very exposed to avalanches so man opt to rappel the “vertical forest” just in between BBB and the Ribbon.
The traditional descent rappels the “vertical forest” just in between BBB and the Ribbon. This option is more tedious due to the high likelihood of snagged ropes though it is arguably far more protected from the frequent avalanches down the Ribbon. From the top of BBB, there is one long rap towards the Ribbon and then another 50 meter abseil angling back (skiers) left down a ramp. 4 more double rope rappels from trees will get you to very near the base of the route. There is tat on multiple trees in this area and it possible to descend with a single 70m rope - this is often the preferred method since there is less rope to manage through the lower angled forested terrain. Bring extra cord and plan to replace anchors as necessary.
More common, and arguably easier when it is safe to do so is to rappel right into the Ribbon and then descend that route, via its bolted anchors. However, this can also be an extremely dangerous place to be if there is any avalanche concern. The Ribbon is very prone to frequent avalanches and even a small one could take you out when rappelling, plus any climbers below. You can do this by making 3 strategic rappels aiming for the top of the Ribbon. Most parties will end up doing an extra rap or two to get there since there are so many trees and a lot of rap anchors. Use your best judgment, but head for the top of the Ribbon. Once there, do 3-4 more rappels from bolts. The first two sets are on the climbers right, the next one (in the middle of the crux pitch) is a hanging belay on the wall to the climbers left. It is hard to locate if you haven’t climbed the route. If there is enough snow filling the base, this may be your last rappel, otherwise look for one more set of bolts on the wall on the climber’s right side of the lower portion of the route.
Feeling Overwhelmed?
This is a big route, the gear is tricky and well spaced out, requiring climbers not only be efficient in their climbing and transitions but also have a solid head on for the mandatory runouts. This article strives to help climbers safely achieve their tick list goals on an iconic winter route, but we also recognize being a partner who follows a route like this, rather than leads, may be a better option for folks. Skyward Mountaineering has a proven track record of successfully guiding some of the most challenging ice, mixed and alpine routes, including Bird Brain Boulevard. Reach out if you have questions about the route, want to book a guided climb of this mega-classic or create a training plan to prepare for a climb of this stature.


