Colorado Hut Based Ski Tours
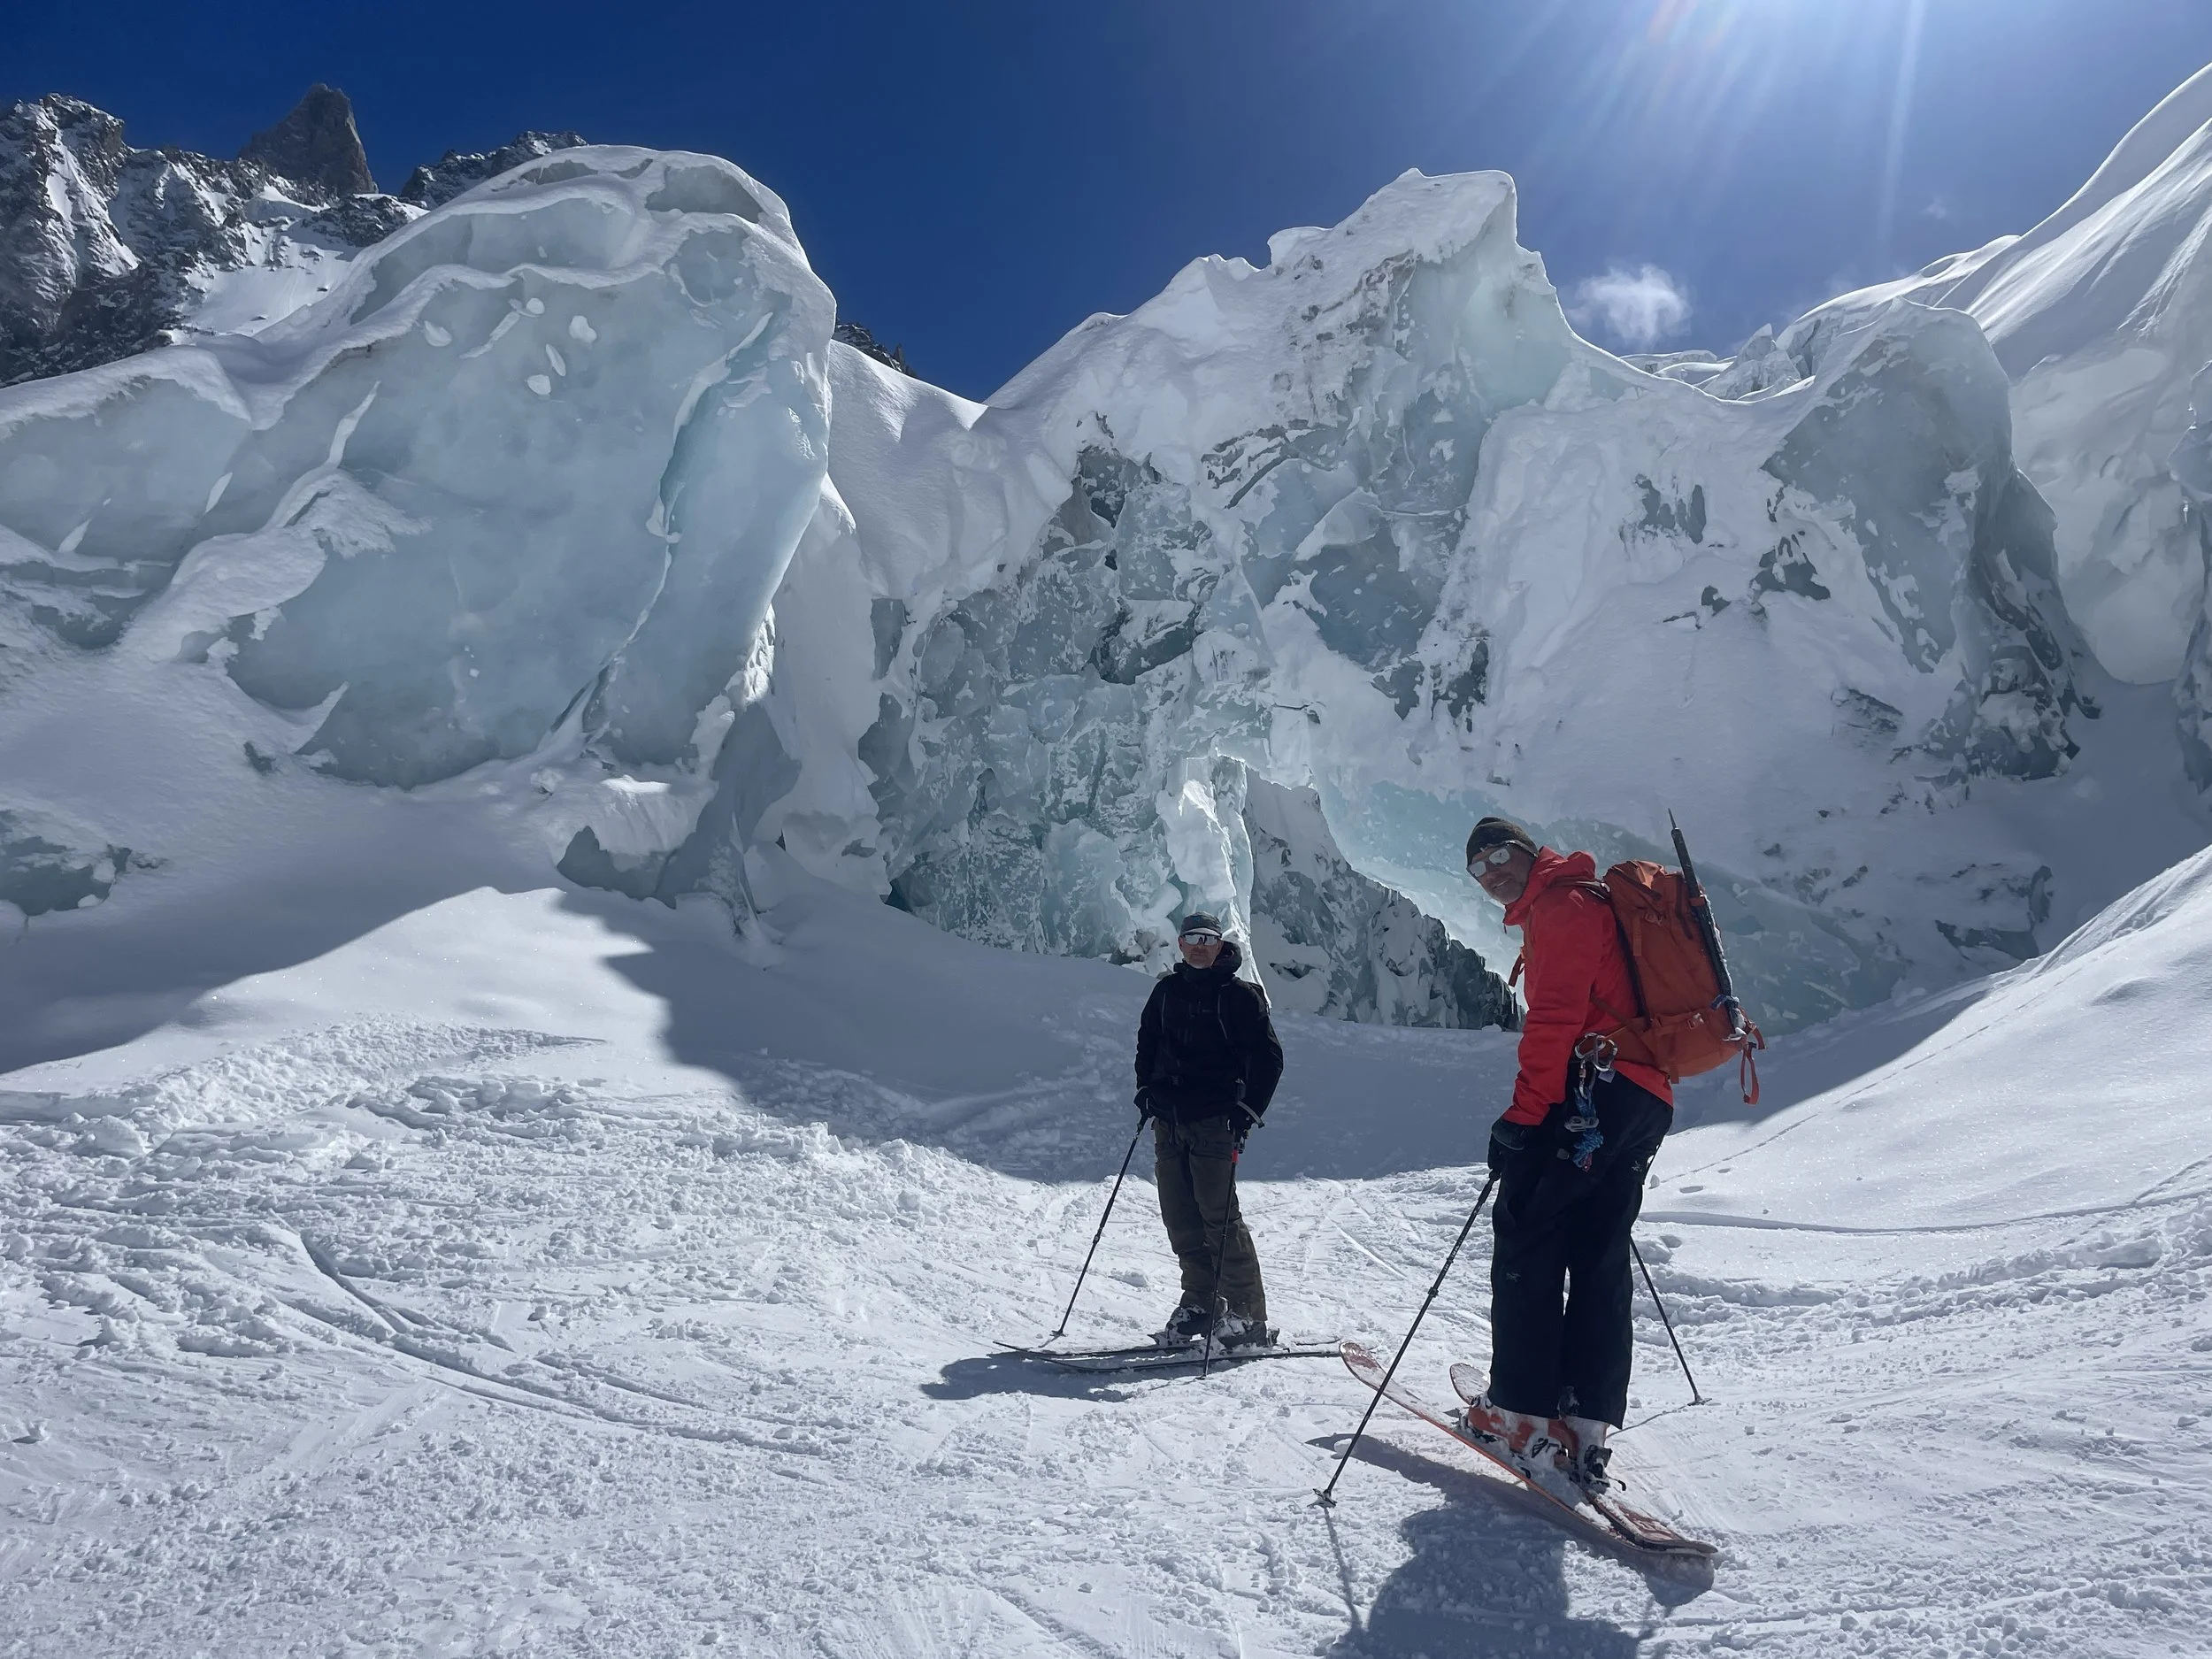
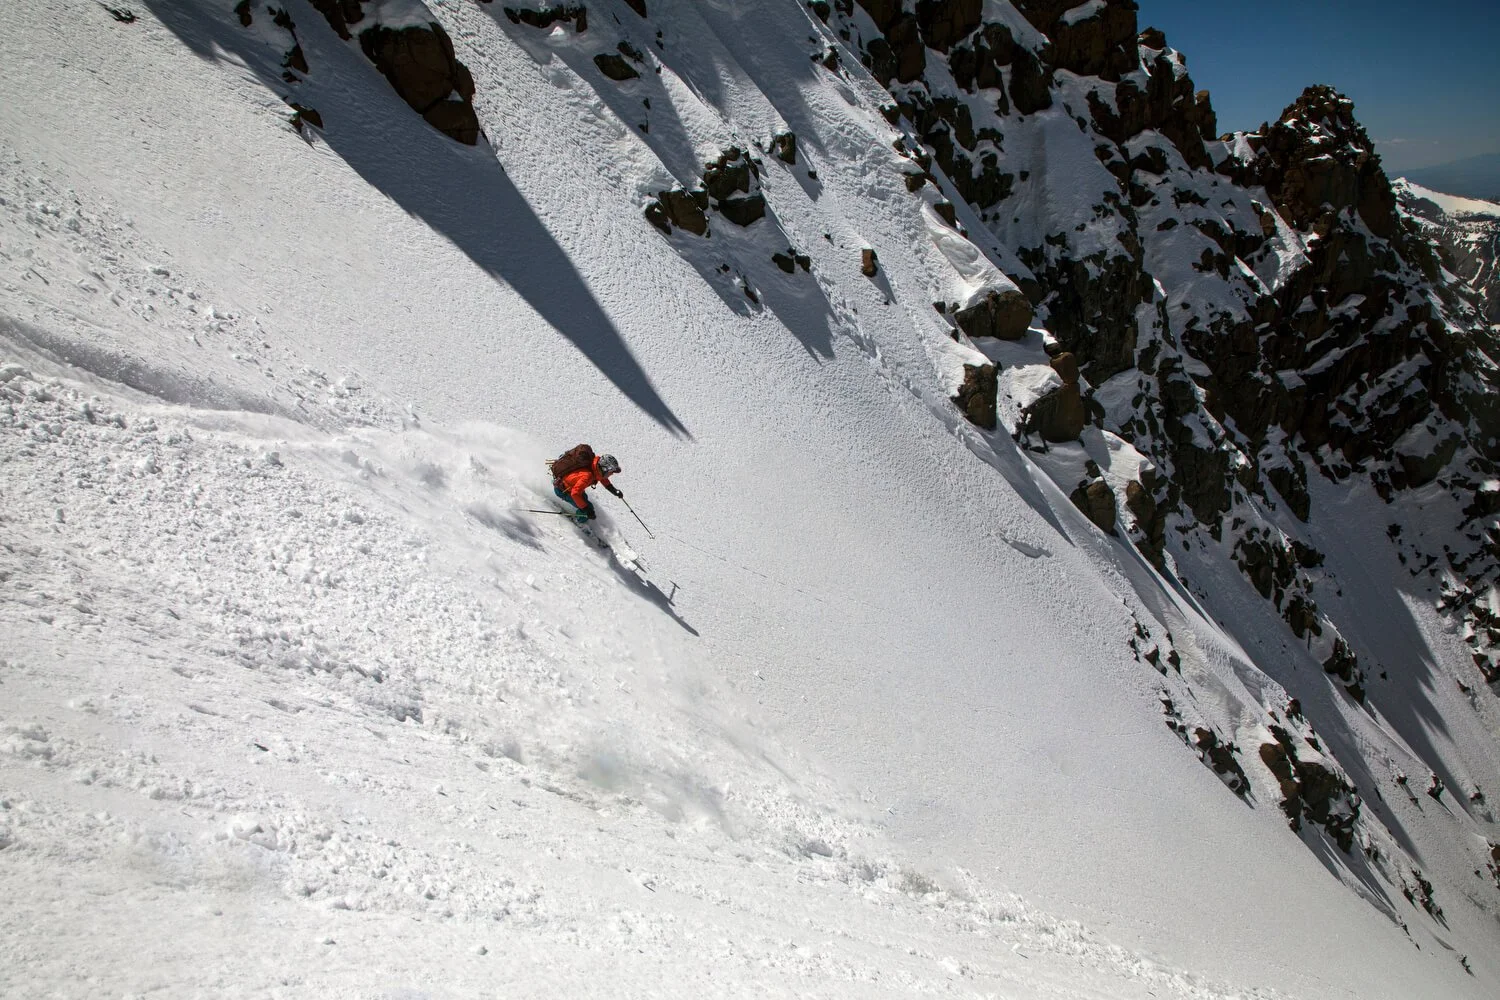
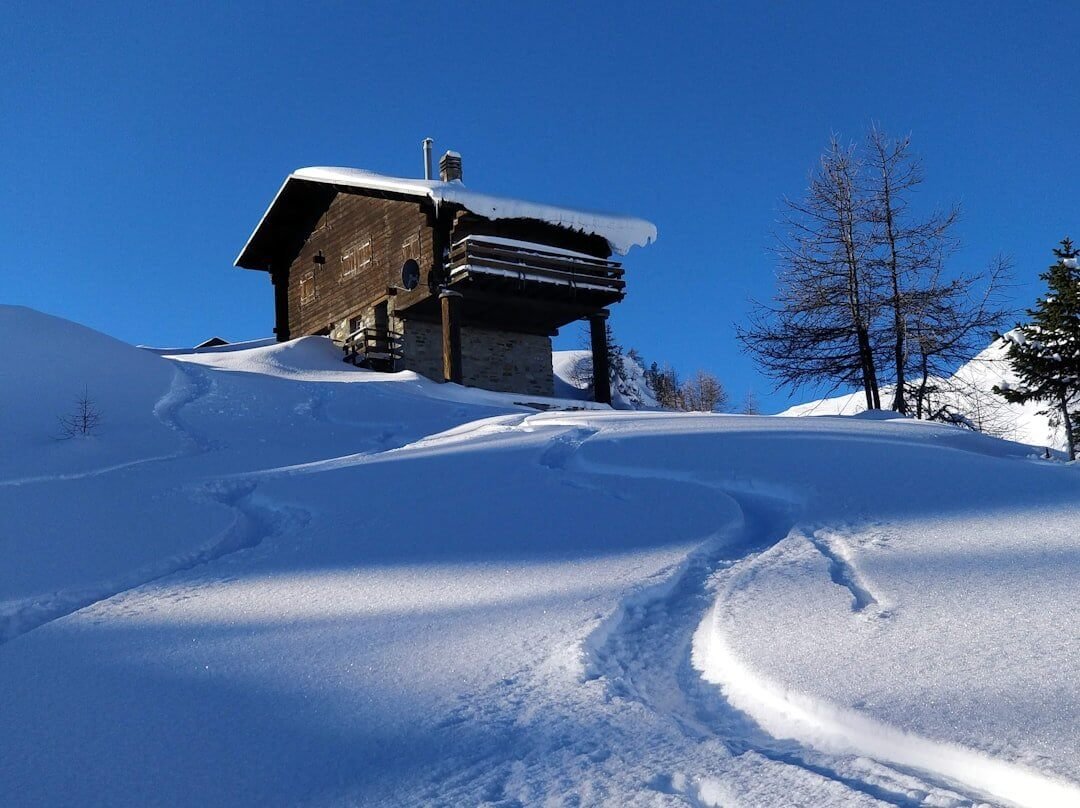
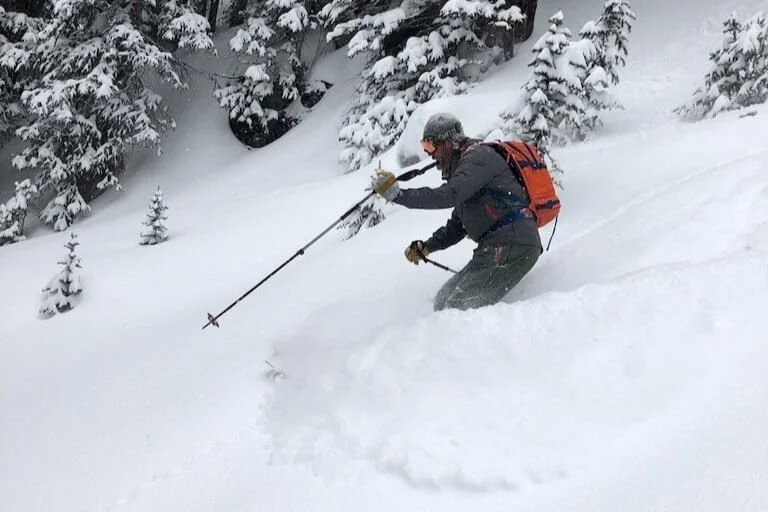
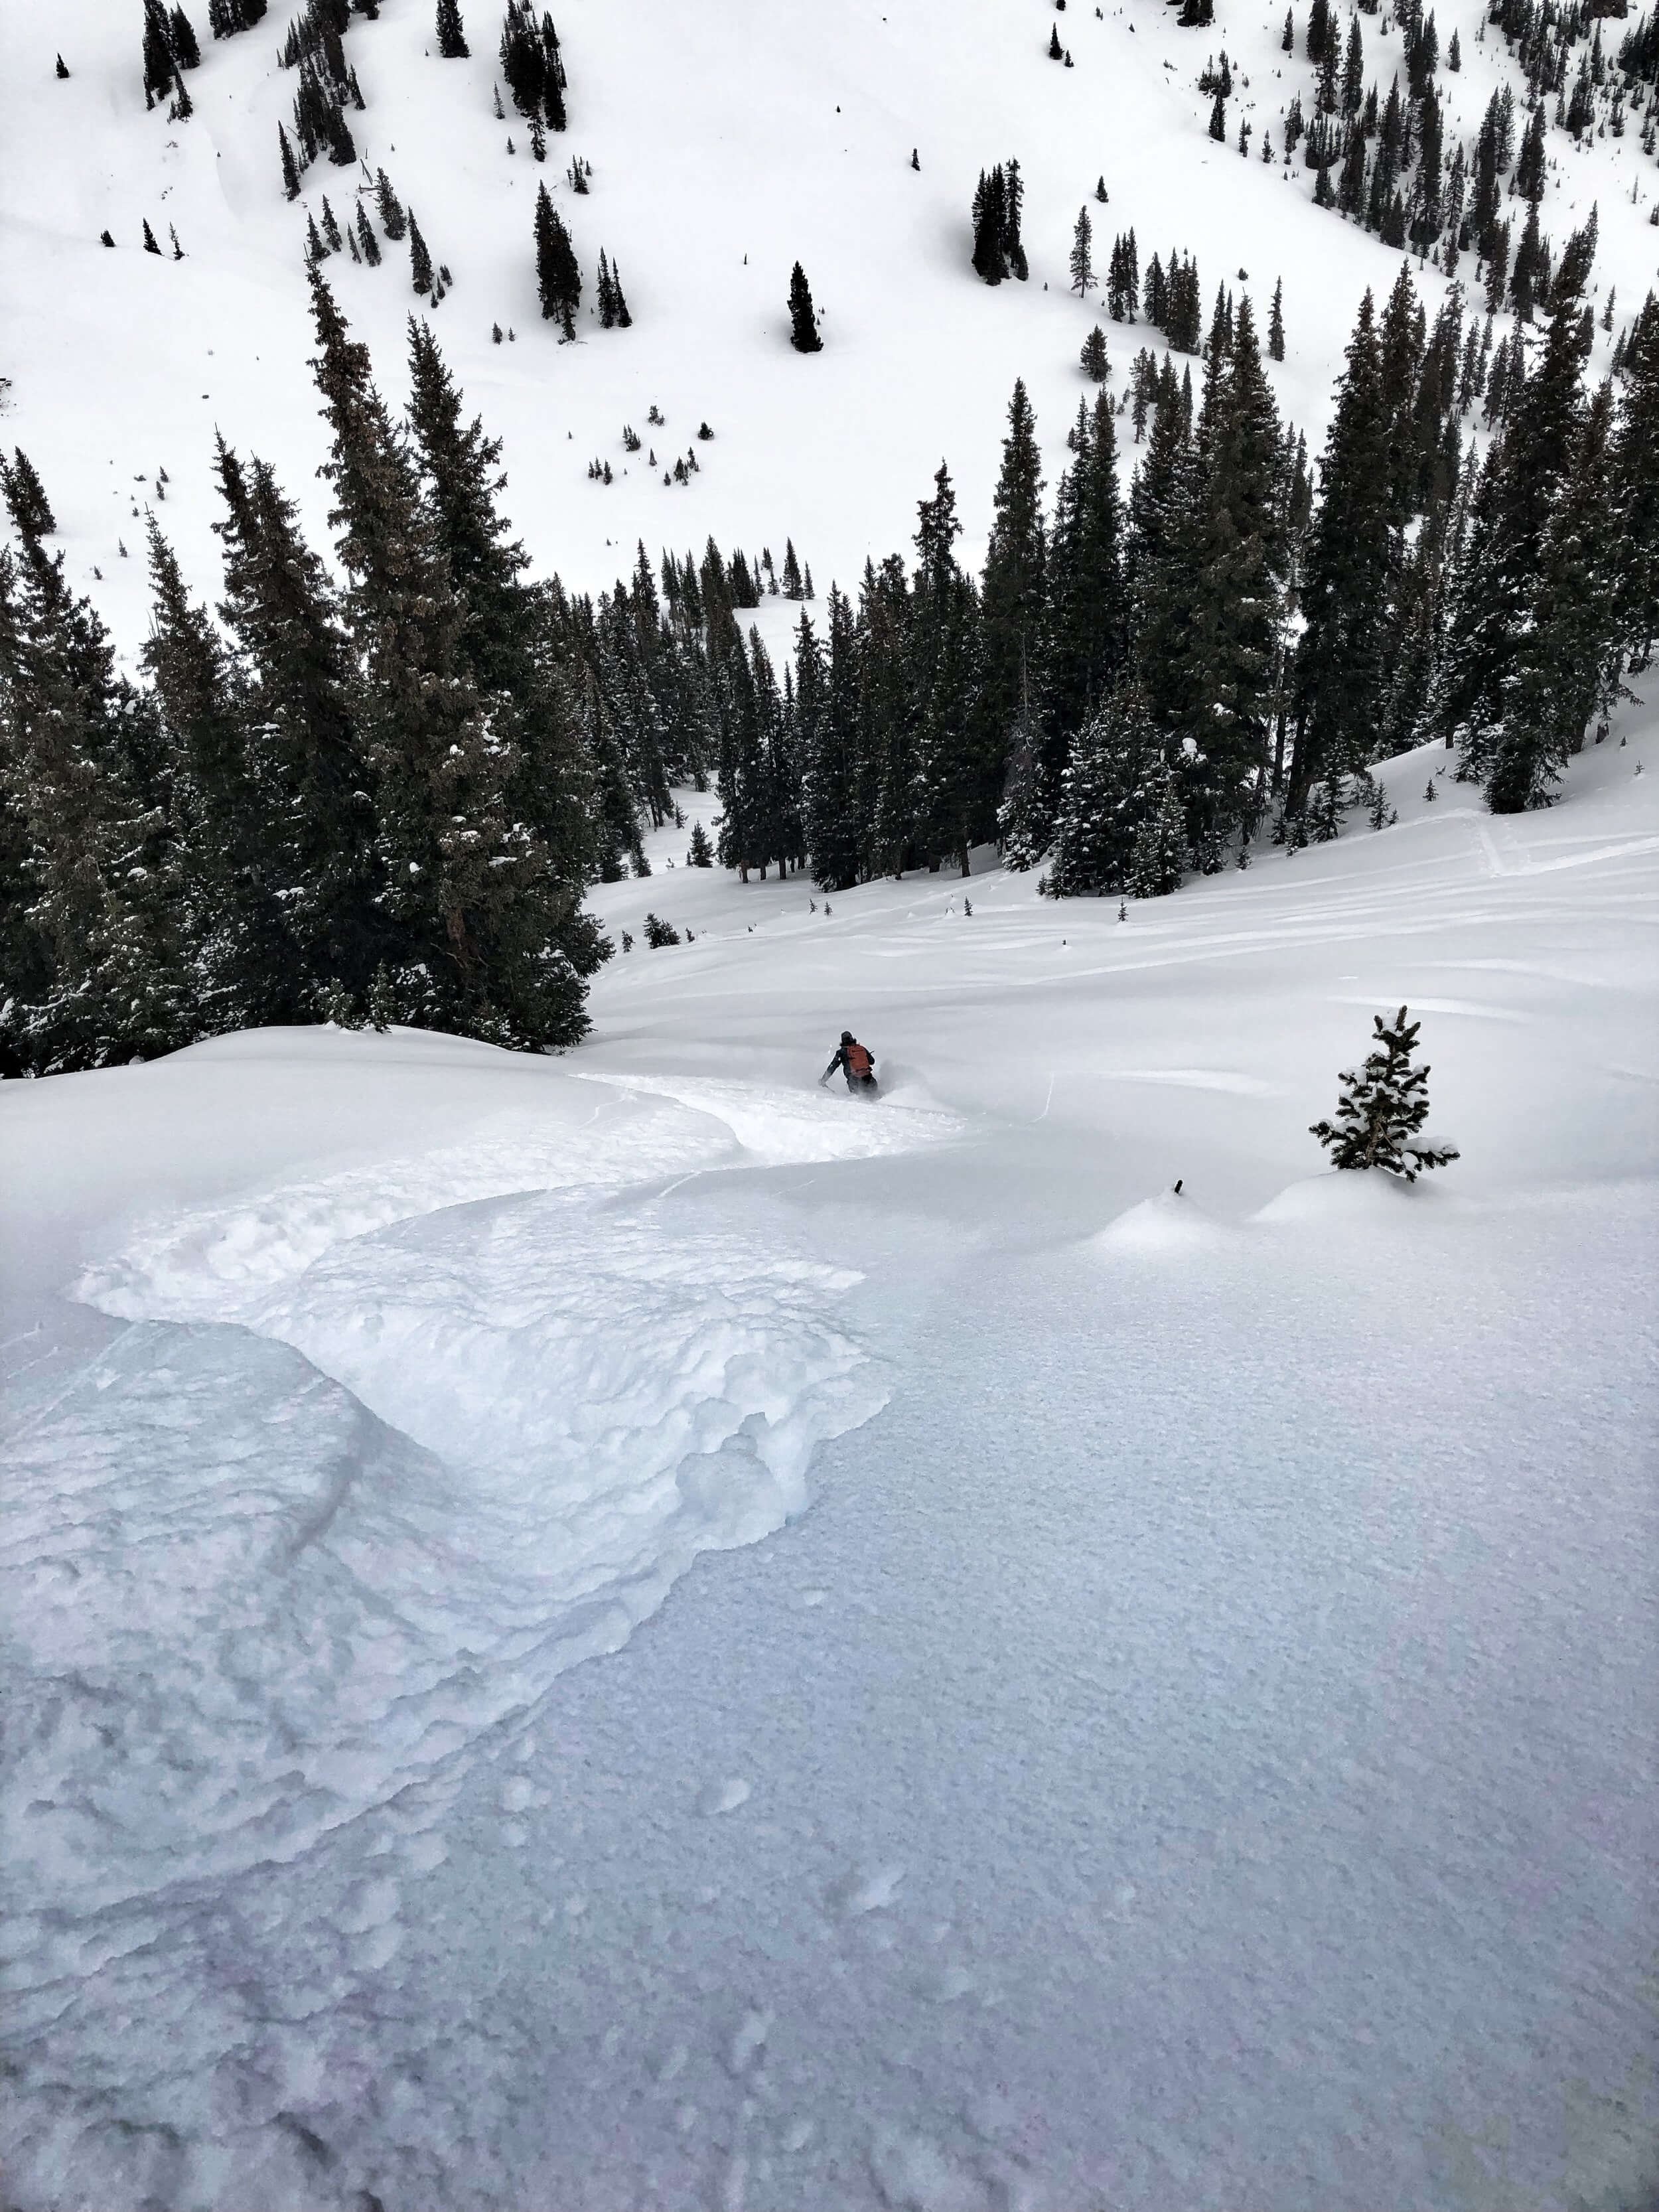
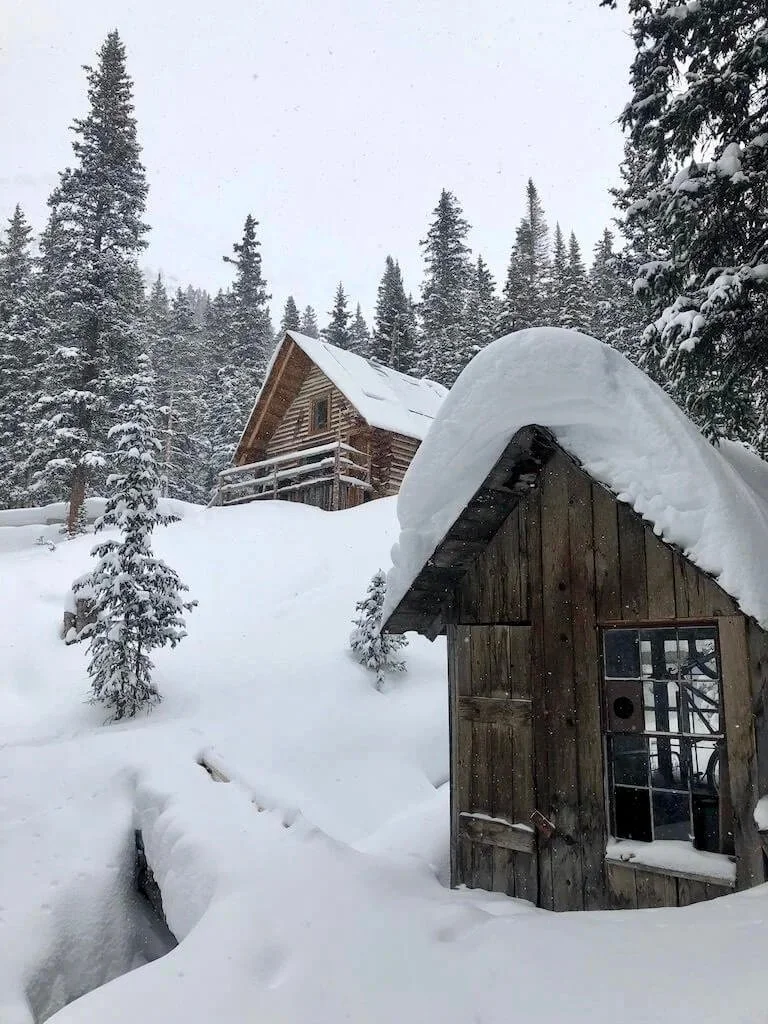
Backcountry skiing right out the door in the San Juan mountains! While there is an abundance of ski huts in the Red Mountain Pass area, there is one that is truly special: Mount Hayden Backcountry Lodge. Situated in Richmond Basin far from the crowds of the Highway 550 corridor, the Mount Hayden Backcountry Lodge has some of the best ski terrain in the region with plentiful shaded, cold snow aspects, steep skiing in alpine terrain as well as sheltered, well spaced glades. We prefer the Hayden hut above all others in the area and feel it is still somewhat of a hidden gem. Beyond the amazing terrain, the facilities are top notch, fully stocked and a welcome relief from the several hour approach into the hidden valley high above Ouray.
We recommend a minimum of three days (two nights) to get the most out of this hut based skiing experience. Our itineraries are open-ended and with many available options, conditions will dictate our best plan of action, see example itinerary below. Actual itinerary will vary depending on conditions and preferences.

Intermediate to expert backcountry skiing
Previous backcountry skiing experience required
Full day of skiing with overnights in a backcountry lodge
San Juan mountains (Ouray), Colorado
11,010 ft / 3,355 m
Backcountry skiing in the San Juan mountains
-
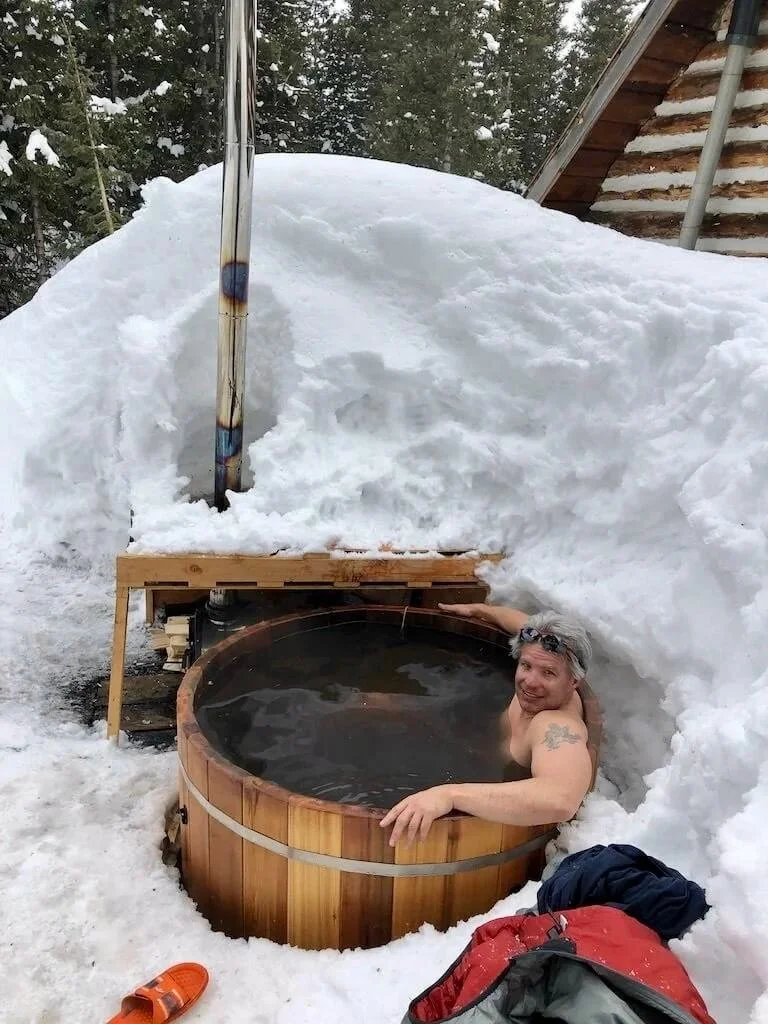
Begin with a gear check and then drop off a vehicle for our return via a different route. We then head up Red Mountain Pass to start our tour up to the summit of a 13,000' peak requiring a small bit of scrambling at the end. From here, we have a few options to ski down: a relatively mild and open bowl into Richmond Basin or a steep and narrow couloir. Either way, the path leads to the warm comforts of the Hayden Backcountry Lodge where we can stop for snacks, drop off some gear and then head out for a few more turns in the glades behind the hut. In the evening we can enjoy a warm cooked meal by the culinary wizard and hut guardian, Eric Johnson. There is a small, but wonderful wood-fired hot tub to relax in after dinner!
-
After a leisurely morning breakfast and reviewing new conditions, we will make appropriate plans for exploring and skiing more of the terrain accessed from the hut. A popular tour is to head up to Imogene Pass (13,00') and take a peek down towards Telluride, then enjoy the hard earned turns back down into the old mining area called Camp Bird. We then climb up the East face of US Peak and ski its rolling and open lower flanks. A short skin up the opposite side of the valley returns us to the hut where we can again relax and enjoy the civilized peacefulness of the winter mountain wilderness setting.
-
After another leisurely morning breakfast we will take stock of our energy reserves and make plans for our best exit route down to where we deposited the vehicle on the first day. One good option is to tour up just a little bit from the hut to gain the entrance to a fun, but not too steep, gully that takes us down over 1,000 feet into the main valley. From here some easy traversing puts us onto an easily skied road which we can follow a few miles to the vehicle.


Check out our blog posts on Hut Based Ski Touring:
You may also be interested in: