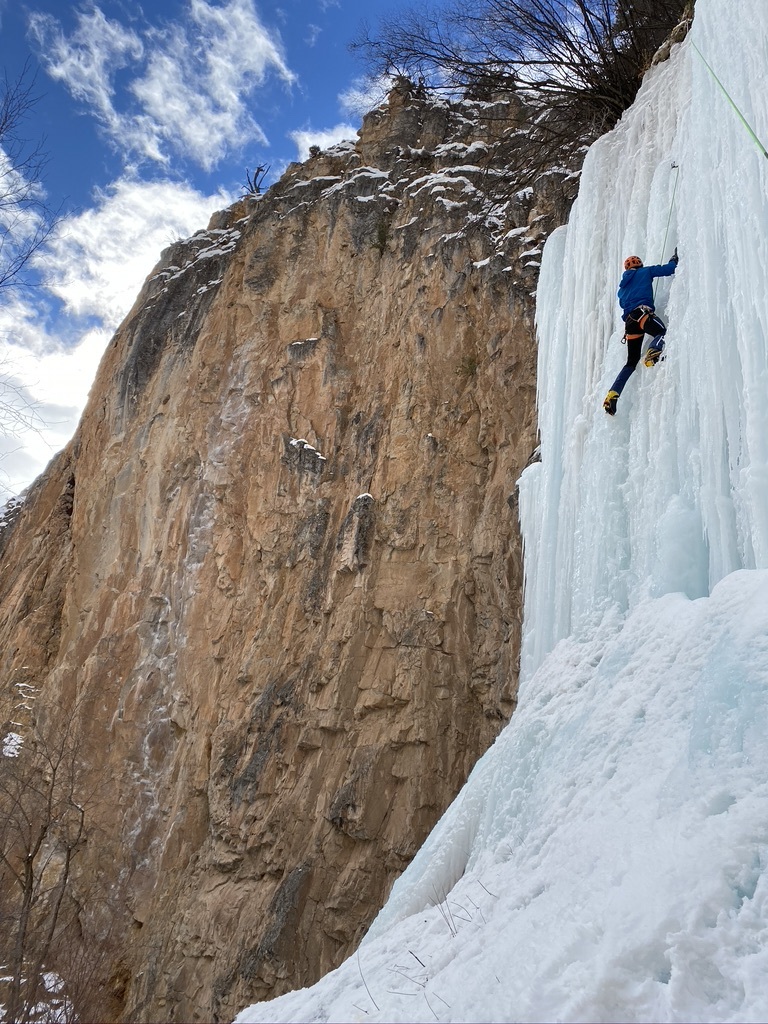
PERSONAL GEAR YOU NEED TO BRING:
• Climbing harness with belay/rappel and gear loops.
• Climbing helmet.
• Belay device.
• Two locking carabiners.
• Crampons for technical climbing. (Step in, not strap on)
• Technical ice tools, with hammers. An adze on a tool creates a significant risk to you. If you don’t have a hammer, you may cover the adze with tape and foam so it can’t cut your face if it pops out.
• Ice Tool tethers. This is a long elasticized leash that prevents you from dropping an ice tool. (optional)
• Climbing boots. These must be mountaineering boots. Leather hiking boots won’t work. Good quality climbing boots can be rented from Ouray Mountain Sports. Contact them directly to reserve at (970) 325-4284.
• Hooded shell jacket. A waterproof/breathable (hard shell) jacket is desirable when climbing water ice. If you use a soft shell jacket make sure it is freshly washed and dried as the drying helps to restore the water repellent finish. If we climb in a soft shell we often carry a light waterproof/non-breathable shell such as the Alpine Houdini jacket made by Patagonia.
• Technical climbing pants. Soft or hard shell. Should fit closely around the tops of your boots.
• Gaitors. Nice if your pants are baggy and/or don’t have integrated gaitors to keep the snow out. (optional)
• Synthetic long underwear top and bottoms. Two different weights for different temperature conditions.
• Synthetic mid-weight top. Slightly heavier than the above layer. The Patagonia R1 Hoody is a popular example.
• Warm fleece or sweater top.
• Warm insulating down or synthetic parka that can be worn over all other layers.
• A warm hat which can be worn under your helmet.
• Neck gaiter. Optional, but recommended.
• Two to three pairs of good fitting, non-bulky, warm climbing gloves and mittens. Gloves/mittens usually get wet or damp when ice climbing and it is nice to have a back-up pair with you at all times. Personally we bring two pairs of gloves and one pair of mittens for a day of winter climbing. One thin pair of gloves that are protective but not very warm; these get the most use. One medium pair of gloves that are warmer, but we can still climb with. And one pair of mittens for belaying and for extra cold days. Ski gloves usually have too much material in the palms for climbing.
• Thin synthetic or wool liner gloves. (optional)
• Wool socks to wear in climbing boots. A second thin pair of liner socks is optional for those who tend to get cold feet.
• Sunglasses.
• Sunscreen.
• A 30-40 liter backpack to carry extra clothes, water and food for the day.
• Small headlamp.
• A small personal first aid kit containing bandages and a blister kit.
• Water bottle and/or thermos: You should have one to two quart/liter capacity.
• Lunch/snack food. When climbing in the Ice Park, it is possible to go into town for lunch.
• Camera!
• Bathing suit for hot springs.
IMPORTANT:
Let us know what you DO NOT have. We may have it.
EQUIPMENT WE PROVIDE:
Ropes, protection, slings and other team technical equipment.

