Intro To Ski Alpinism
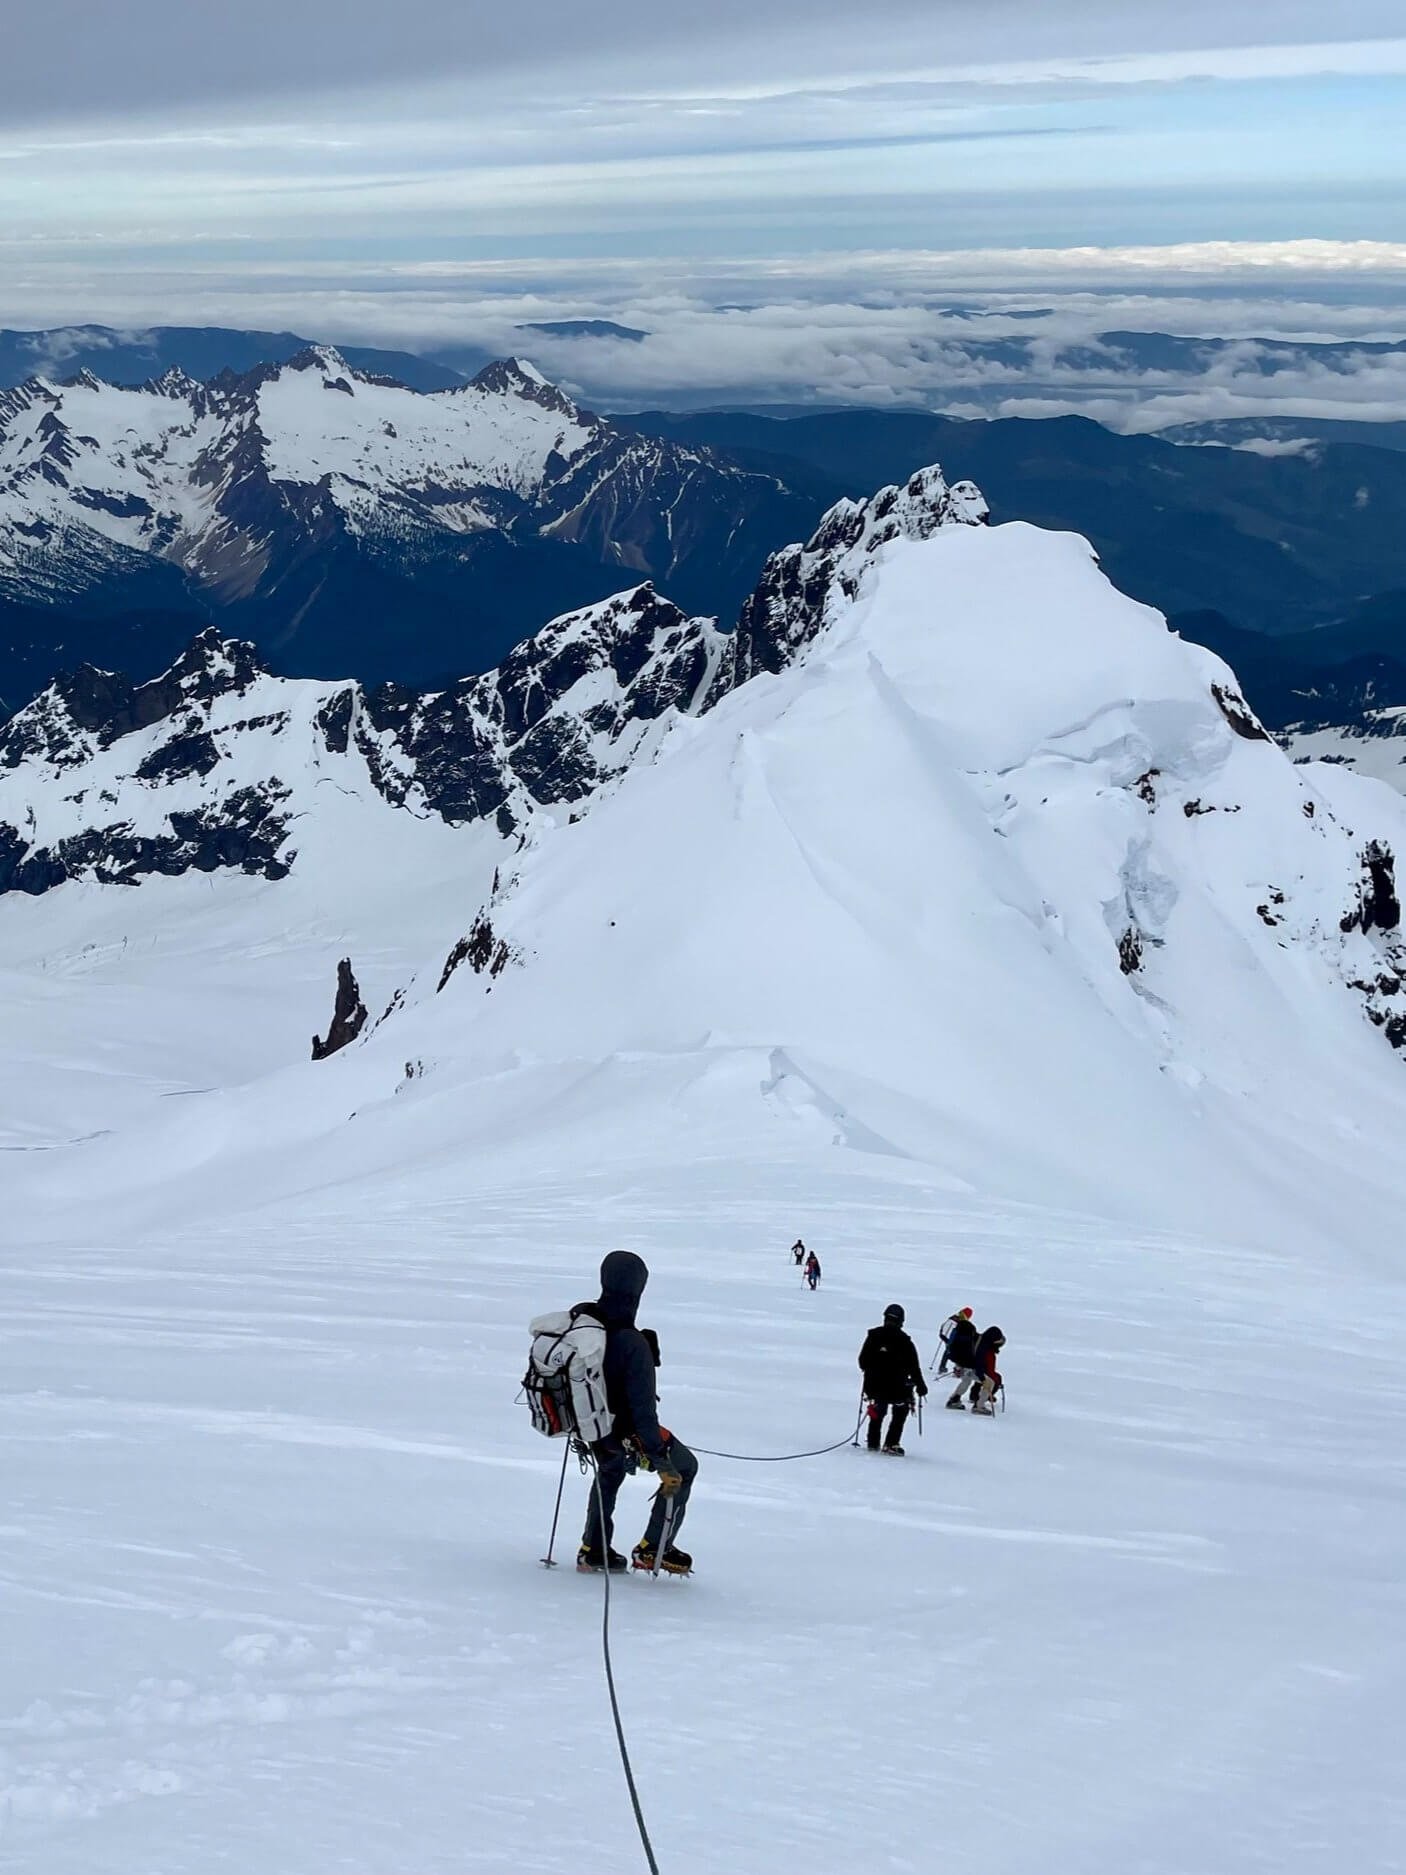
The Intro To Ski Alpinism clinic is for advanced skiers and boarders who want to add alpine ascents and descents to their repertoire. This course, as the name says, will combine the skills of skiing and alpinism. Skiers and boarders are discovering how deep into the world of alpinism their skills can take them. When the angle tips over 40 degrees or your skins are propelling you across a glacier, you’ve entered the realm of the alpinist. At Skyward Mountaineering we would like to show you how skiing and alpinism can be combined, and how we incorporate our experience to help you find your own lightweight, alpine-based approach to successful ski mountaineering.
The Intro To Ski Alpinism clinic focuses on the crossover skills and techniques associated with ski mountaineering, from foundational techniques to more complex alpine climbing systems:
Route-finding
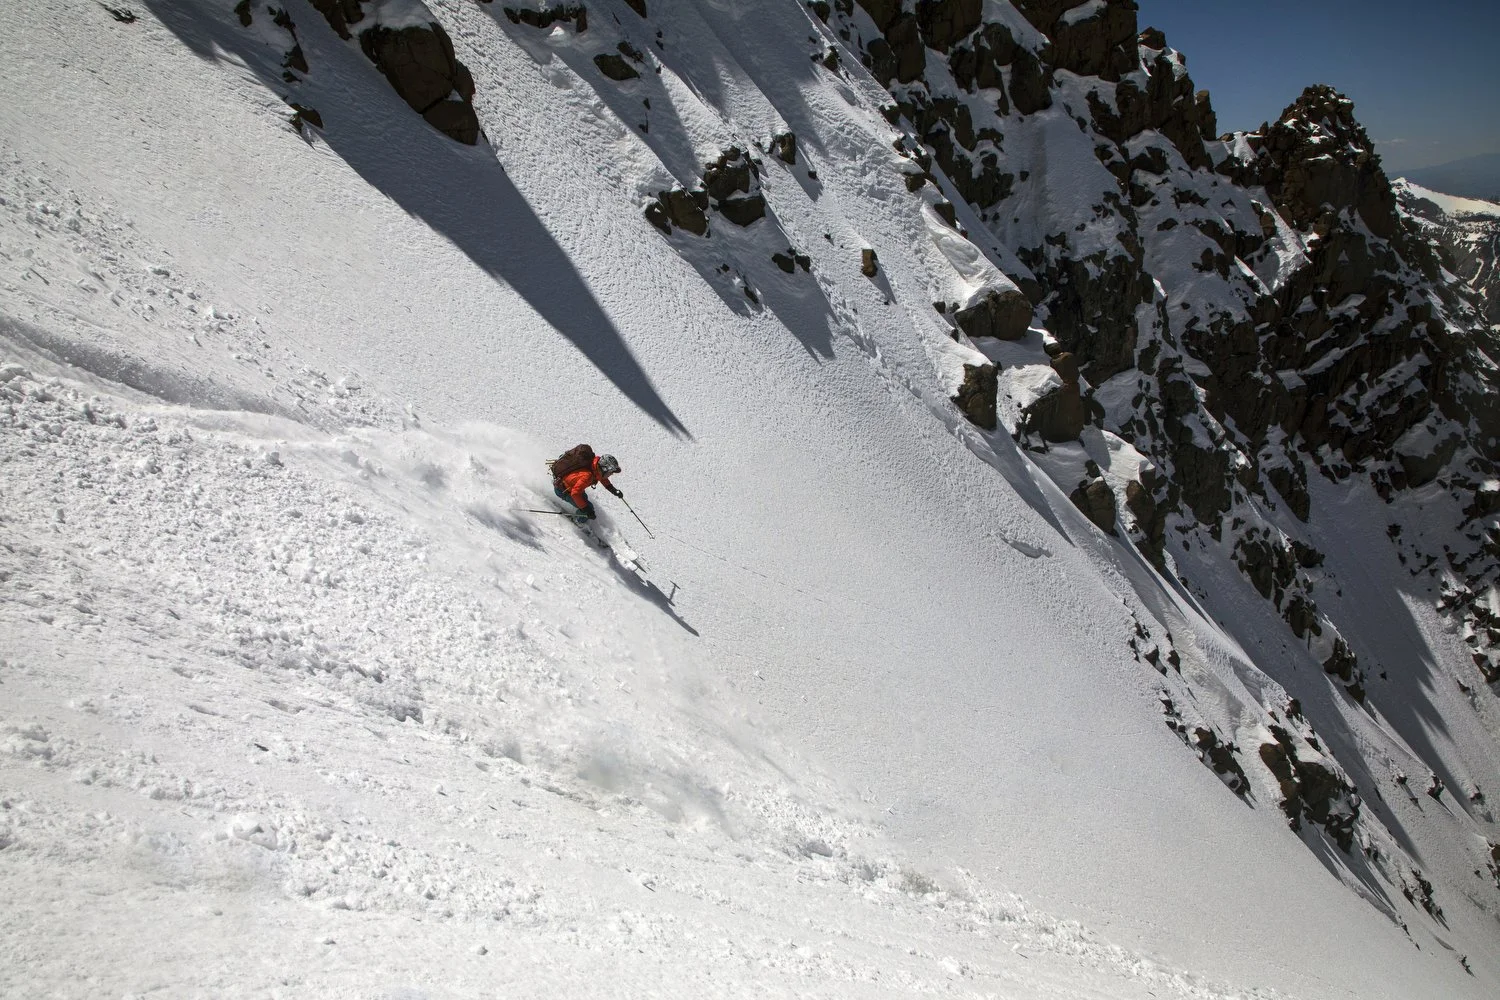
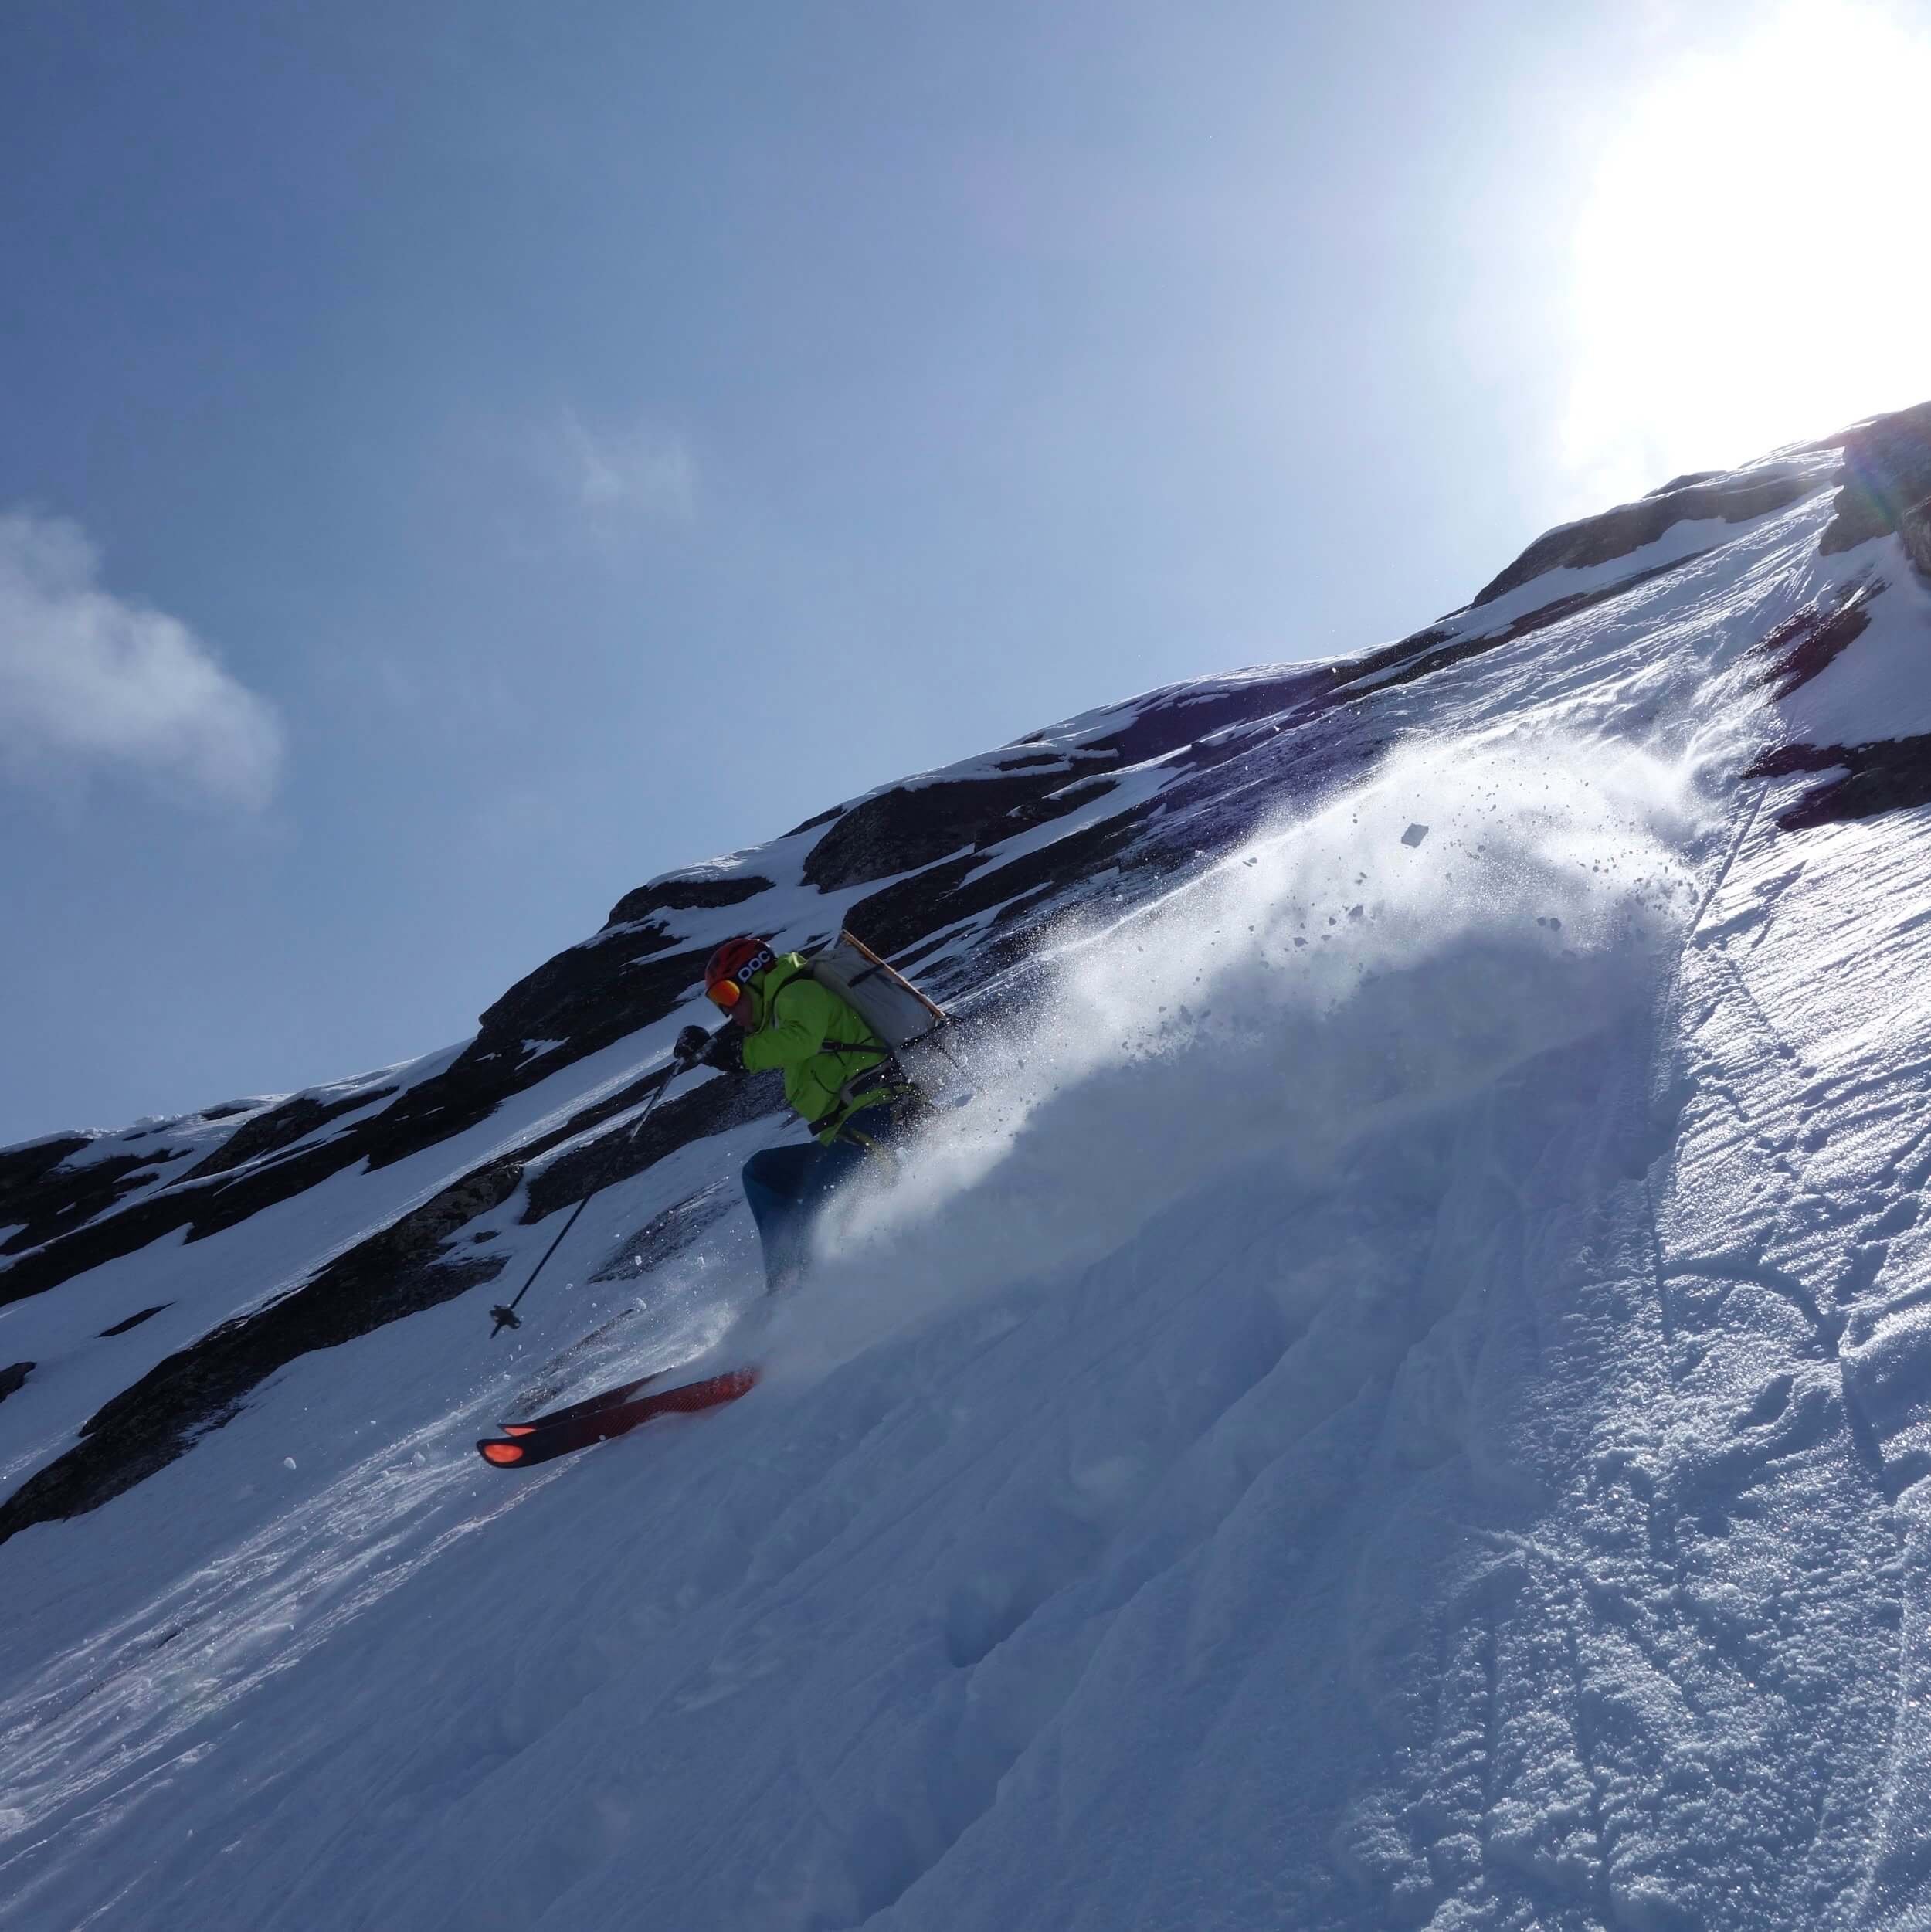
Steep skiing movement coaching for a variety of snow conditions
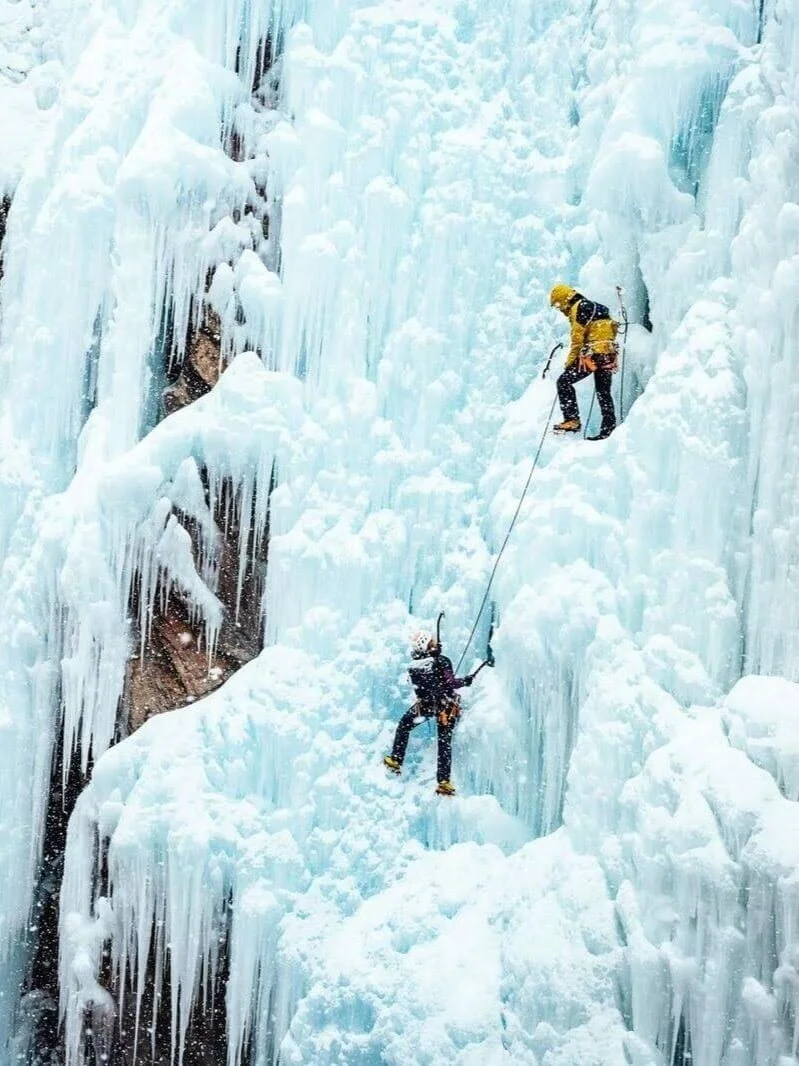
Crampons and ice axe usage
Efficient uphill skinning on a steep track
Climbing movement
Snow and rock anchors
Belayed ski descents
Rappelling

Introductory ski mountaineering course
Previous backcountry skiing/snowboarding experience required
Must be proficient descending black diamond terrain
3 full days (8 hours each)
April 24 - 26, 2026
Ouray, Colorado
7,792 ft / 2,375
Improve your Confidence ski mountaineering
-
This three day course is based out of Ouray, Colorado in the San Juan mountains.
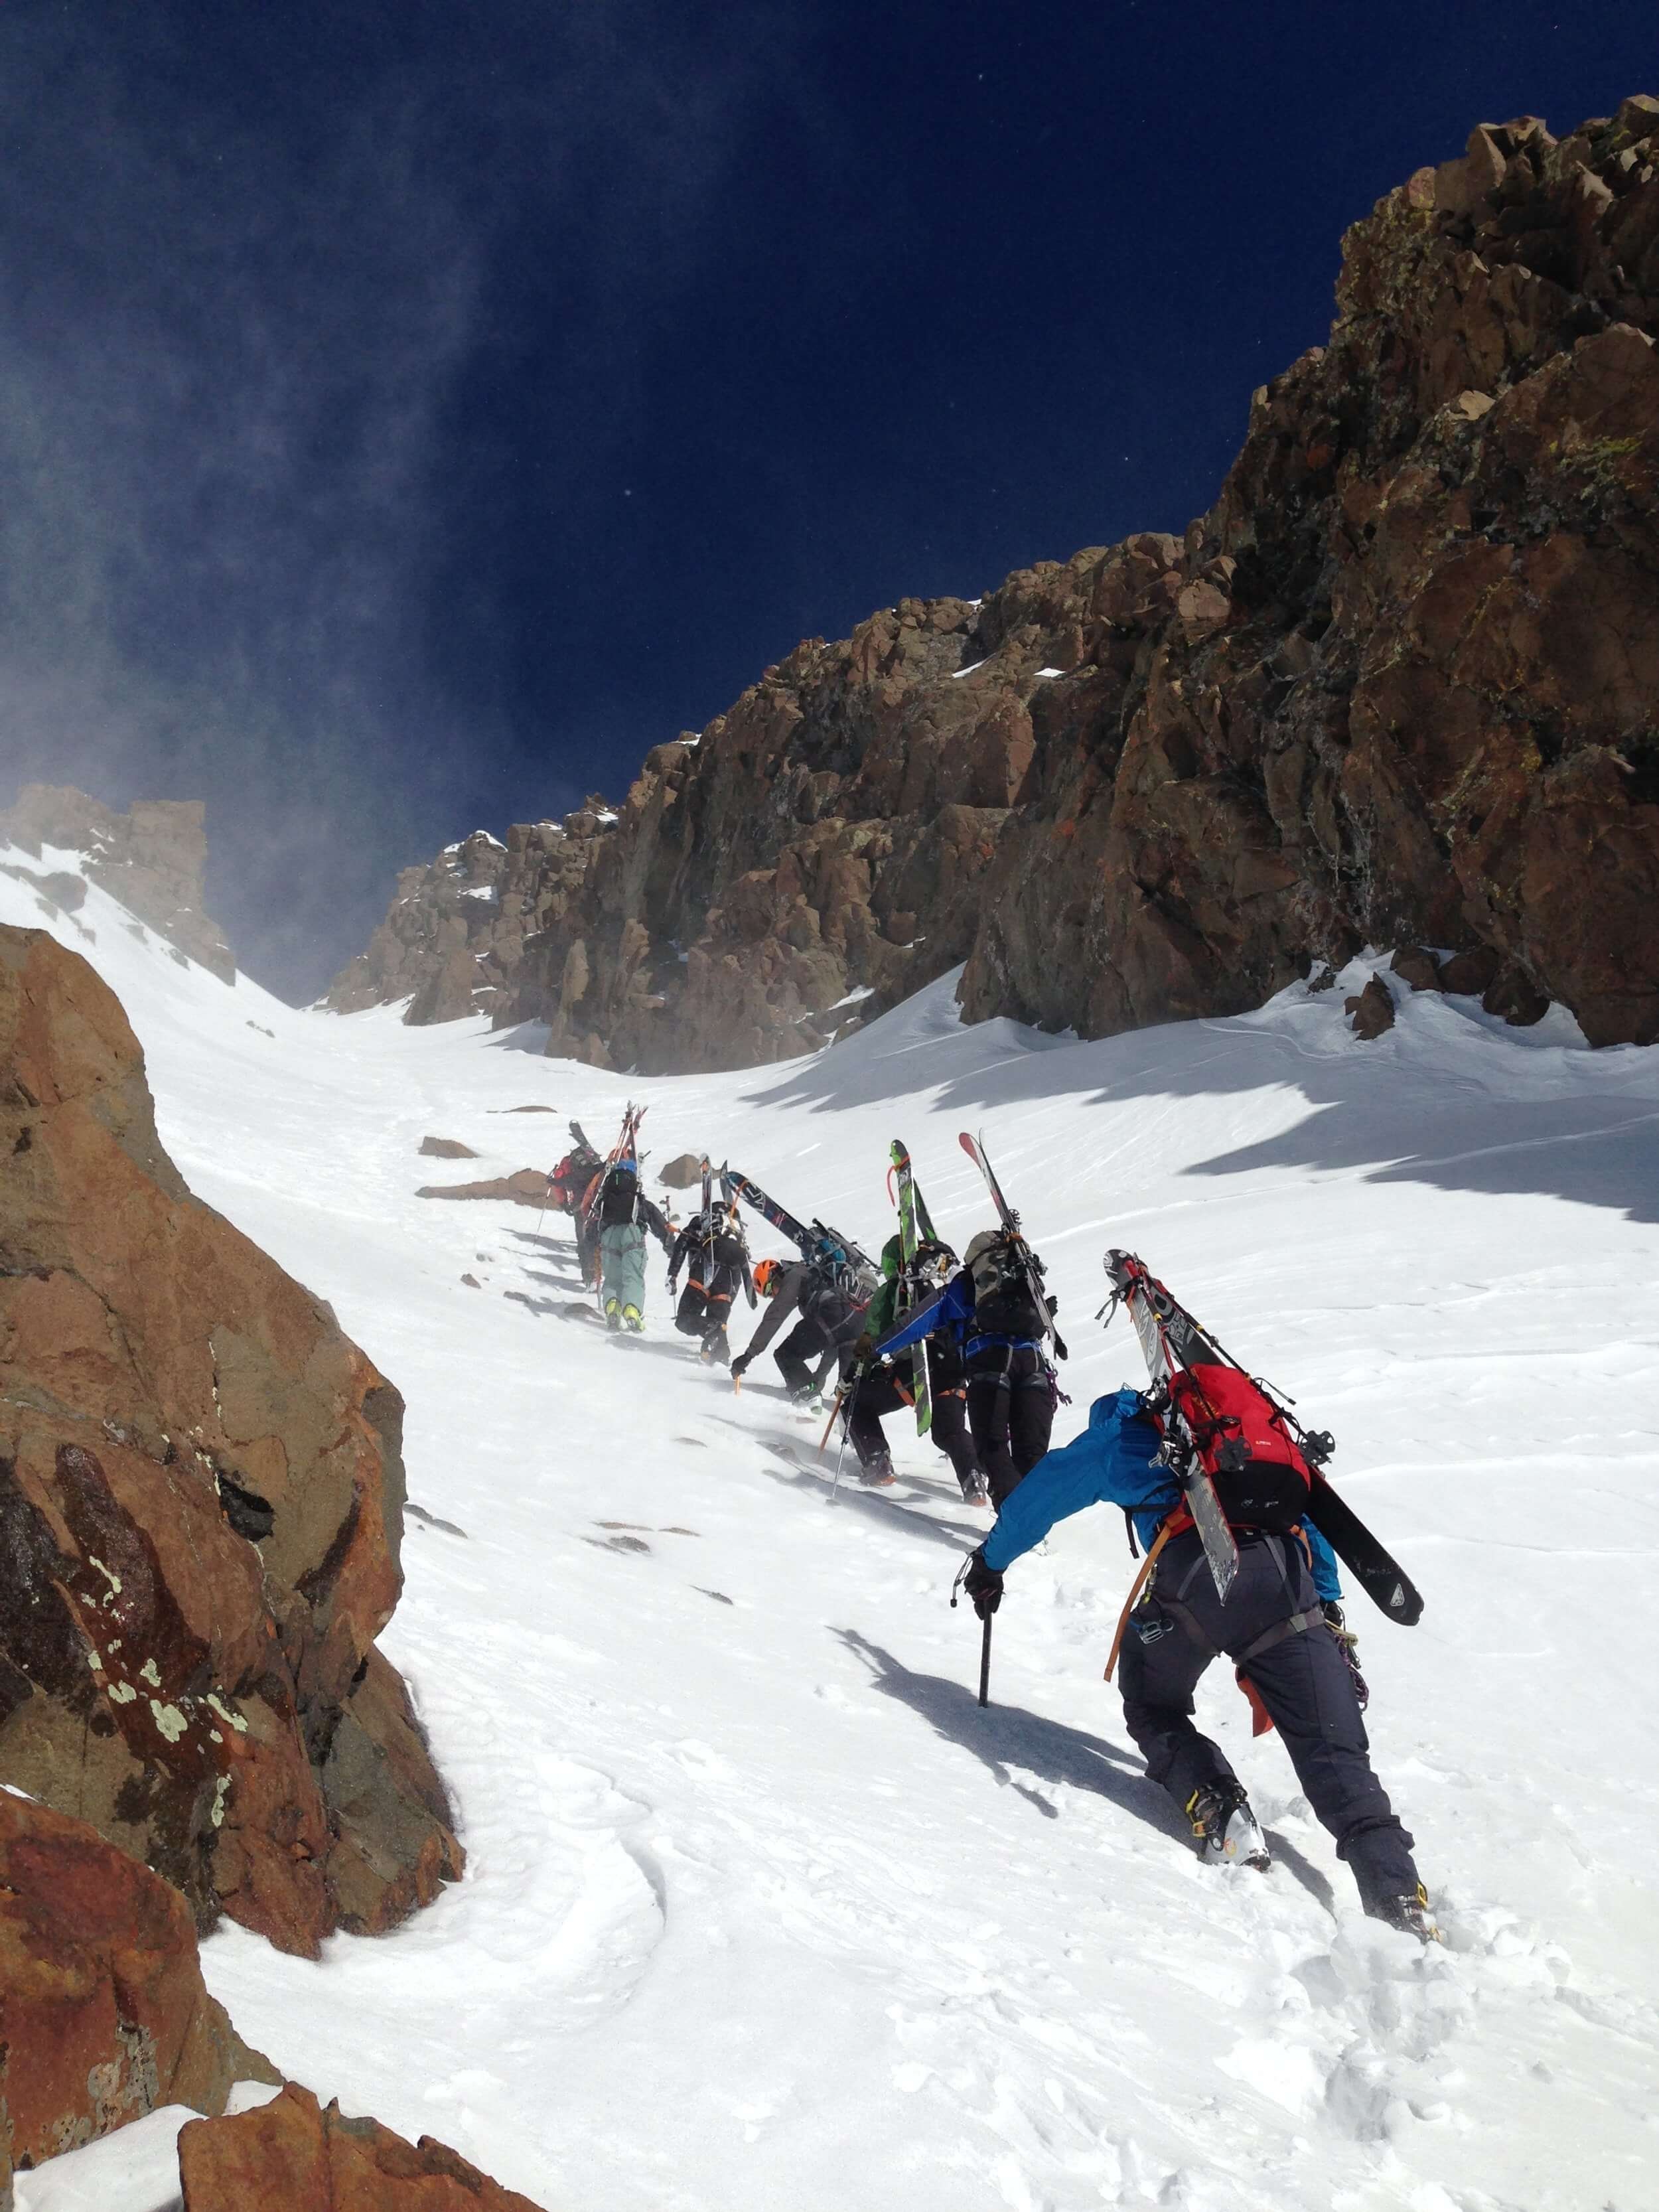
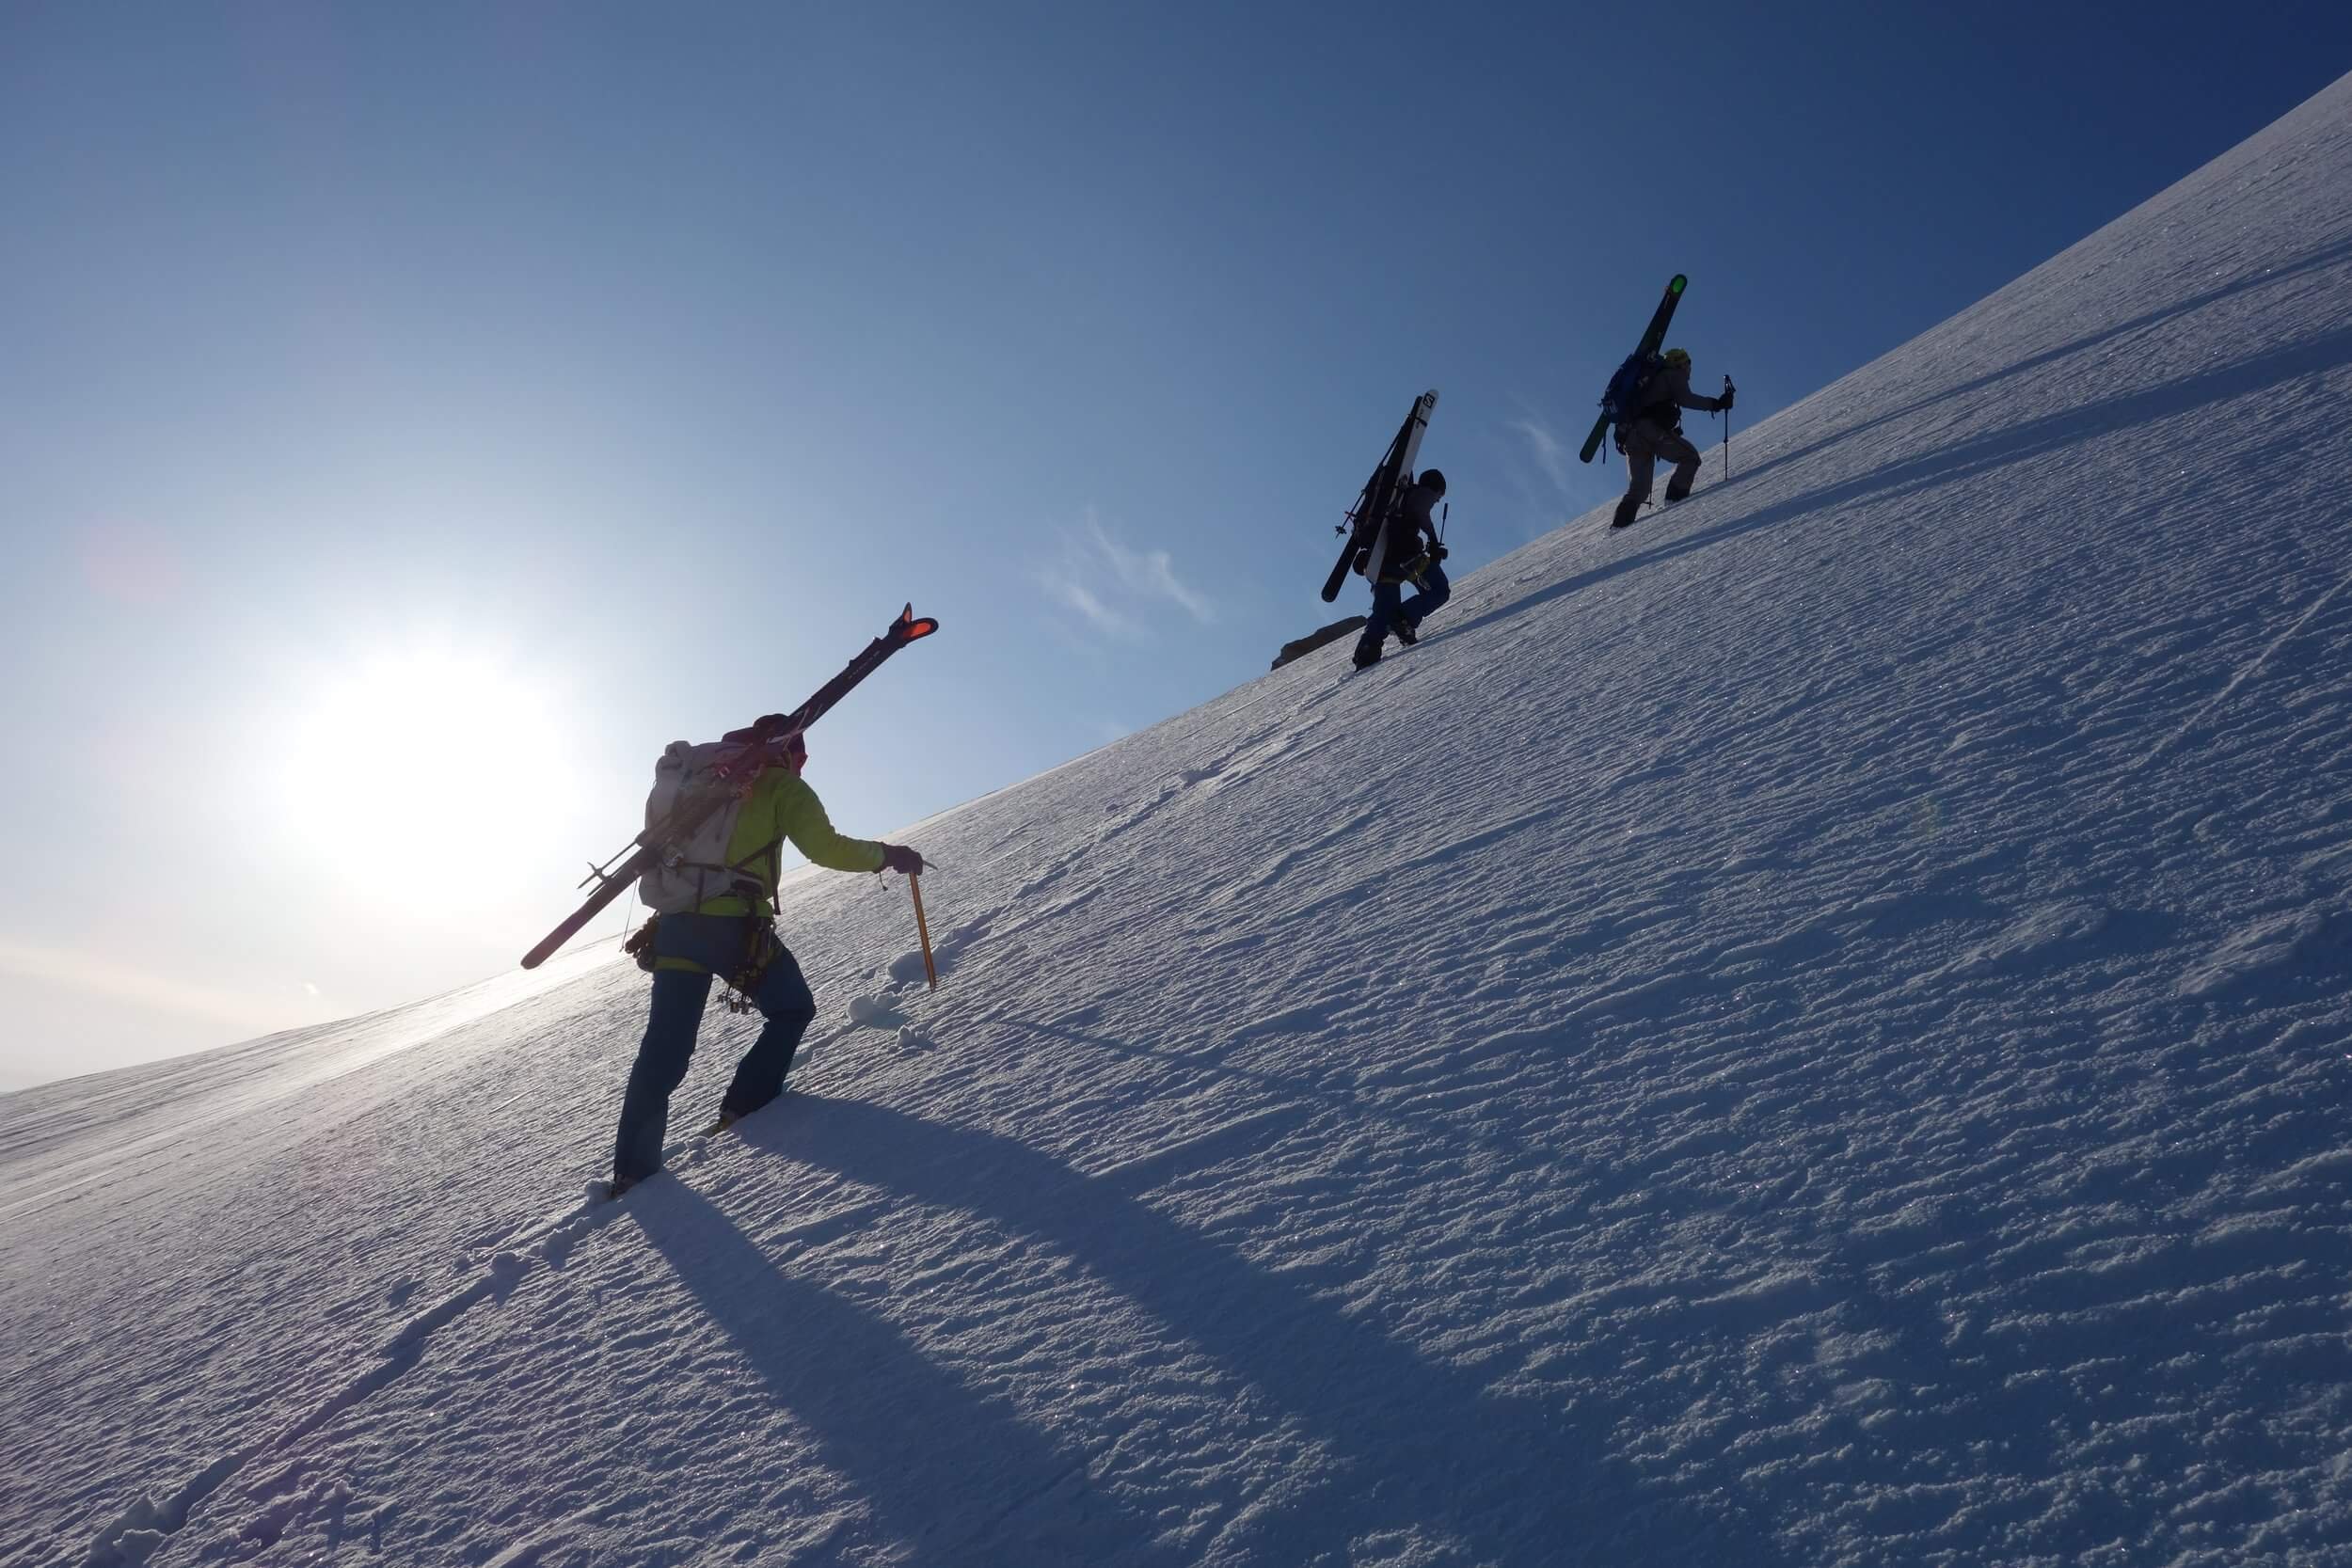
After a review of ski mountaineering equipment and how to pack efficiently we will head up to Red Mountain Pass at over 11,000 ft. From here we start to work on making your uphill skinning easy and efficient so you can get to the fun part fast and feeling fresh. Obviously, we will also be skiing down and here we will review a range of techniques to help you master both the steeps as well as the difficult snow conditions common to the high mountains.
-
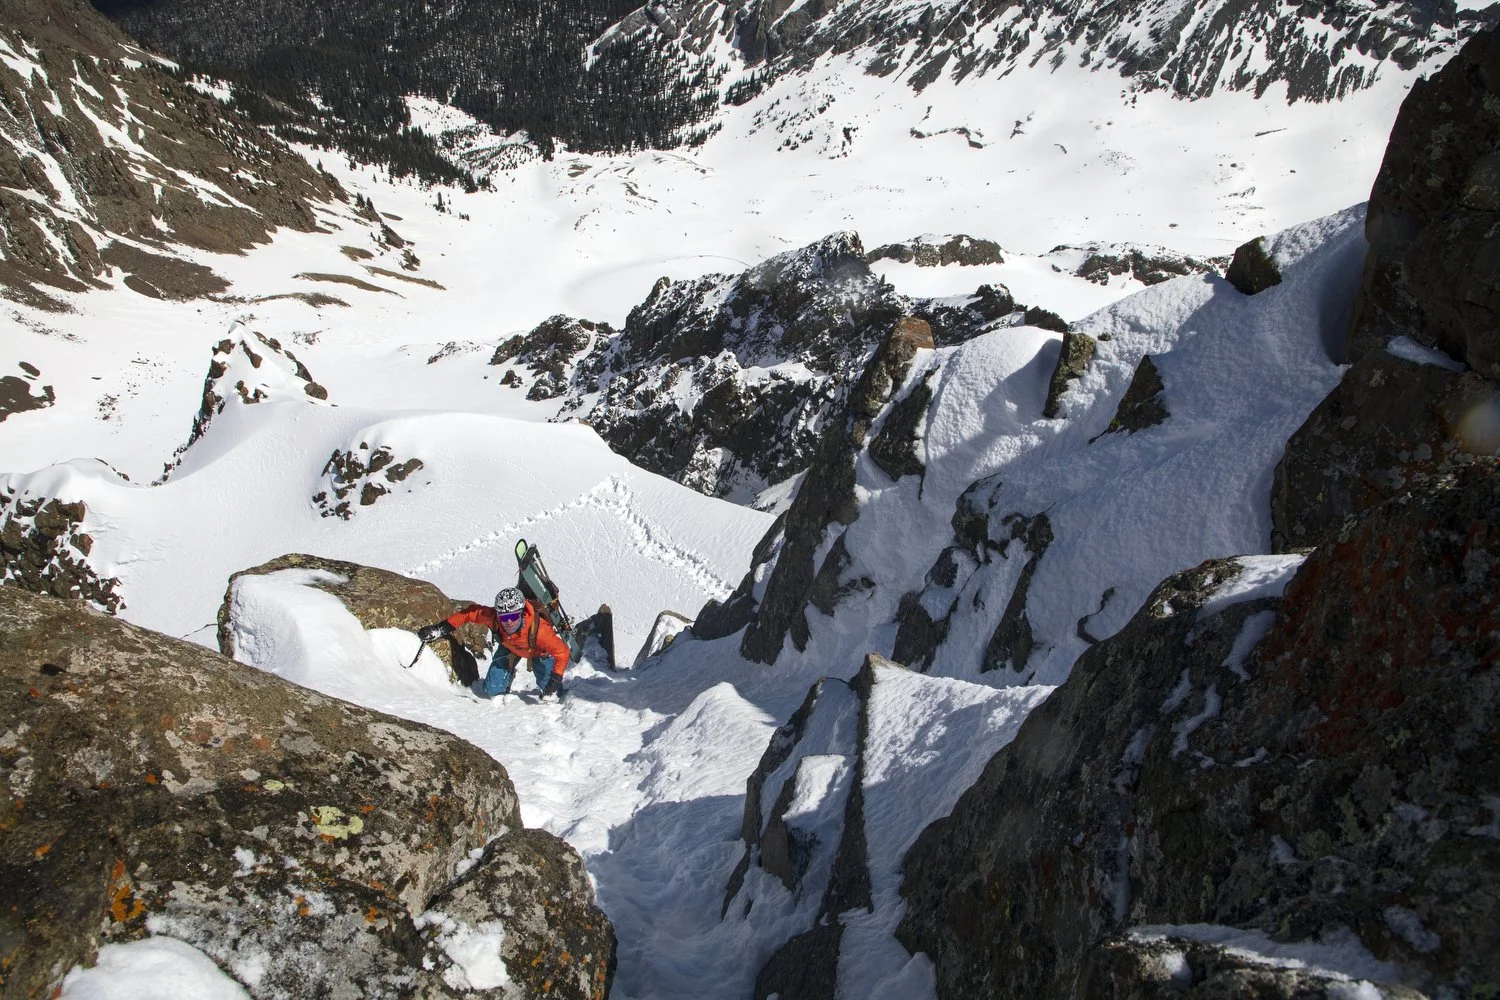
We will focus this day’s learning on technical skills relevant to the true ski alpinist. We will climb steep snow, ice and rock with lightweight ice axes and crampons. We will build anchors, rappel with skis, utilize belayed skiing and practice all the applications of a rope when skiing.
-
Today, conditions permitting, we will go for a true ski mountaineering ascent and descent, utilizing and refining the skills you have learned the past two days. From the high summit of a Colorado 13’er or 14’er, this is your chance to reward yourself with thrilling turns down a steep couloir or face!
-
After a day of rest we highly recommend rounding out the week with another two days of private ski descents in the beautiful and very alpine San Juan Mountains with one or two of your classmates and a Skyward Mountaineering Ski Guide. This clinic more-so than any of our others benefits from these bonus days of application.


You may also be interested in: